

texturing
April ProgBlog #2: tis the season?
Sunday, 21 April 2019 @ 10:18pm
So, not long ago in the grand scheme I found out one of my friends has breast cancer. There is another skinhead mohawk pending once I get a moment. More recently my grandmother died. It’s sad but she was just shy of 100 so it wasn’t unexpected. Tomorrow I’m on a plane to Melbourne, and will be home on Saturday. This is mostly heads up that there may or may not be a progblog next weekend depending on how I’m feeling.
April ProgBlog #1: deja vu
Saturday, 13 April 2019 @ 8:22pm
Almost fell into old habits of not posting because I’m currently stuck in November as far as progress on stuff I was supposed to be working on (before getting massively sidetracked by the Rewrite the Stars songpic).
Now I had actually gotten a fair way further than this and was doing pretty all right when I realised two things.
November ProgBlog #3
Sunday, 25 November 2018 @ 8:24pm
Yeh yeh I’m late again. Much shenanigans happened on the weekend taking 11yo, a bunch of her giggly friends and 13yo to Bounce (9yo was meant to come to but he’d sliced his toe open on Thursday by deciding it was imperative that his iPad be unlocked on the way to the car rather than in the car after he’d clipped in and thus he didn’t notice the kerb I’d parked next to), and then one of the girls stayed over (which I found out was happening on the day, fortunately I’m cruisy).
November ProgBlog #2
Monday, 19 November 2018 @ 9:36pm
I progressed!
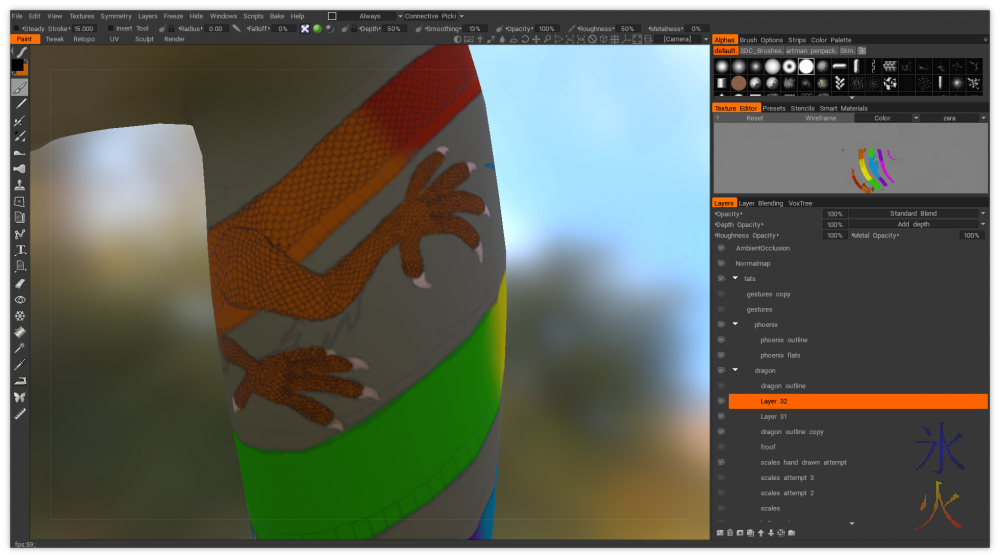
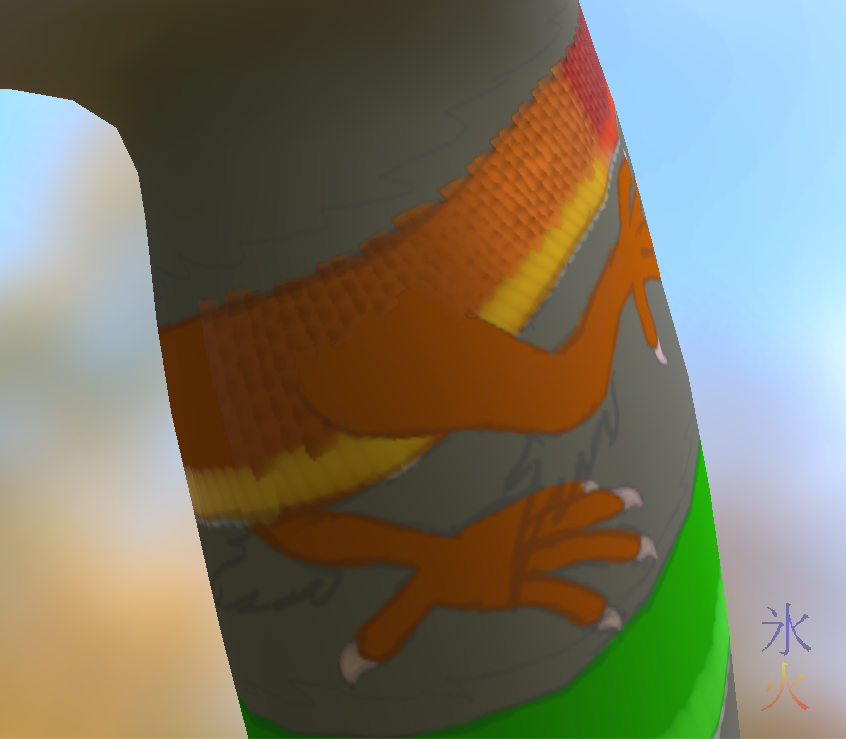
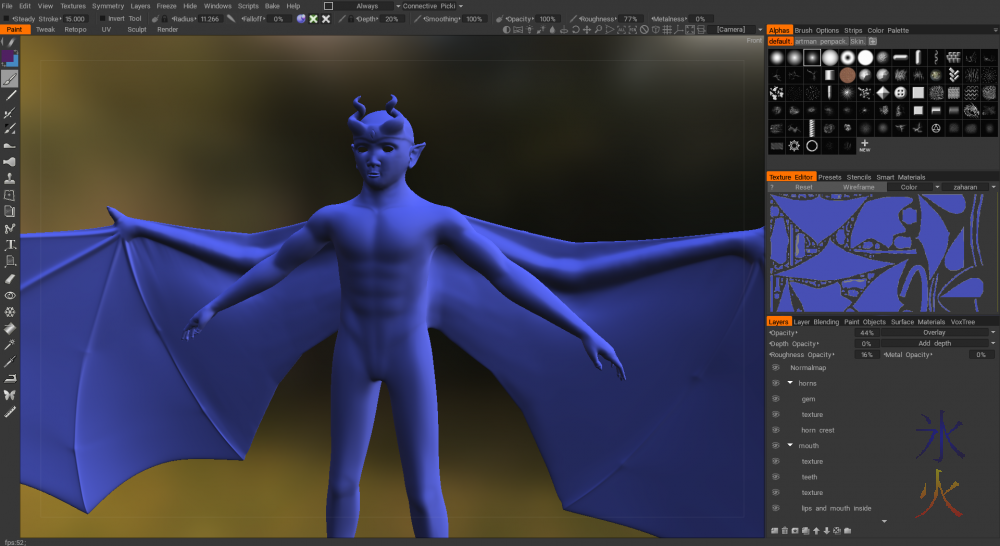
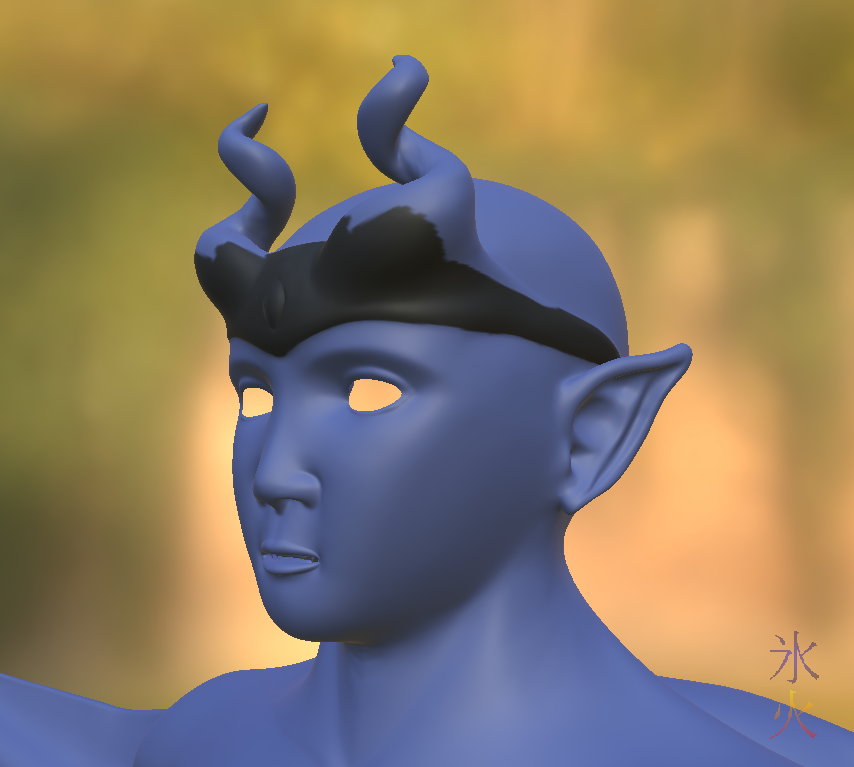
Zara has been turned into a paint object and I really should have done her nails first but I got excited and launched straight into tattoos. They ended up looking slightly different from my reference pic (where everything was pretty much guesswork anyway).
June ProgBlog #3: Noob Errors!
Saturday, 16 June 2018 @ 6:42pm
Obviously, I haven’t done uv mapping for a while. Last time was three years ago (jeez I’m so slow aargh it’s too late for me save yourselves). So while I remembered how they worked and seem to have gotten better at actually making/unwrwapping them, I managed to completely forget what they were. So when I was setting up the paint object, I automatically selected the largest they had available (16k), because in Krita I always paint on 16bit canvases.
Happy New Year!
Monday, 1 January 2018 @ 12:15am
Farewell 2017, happy 2018!
I did my usual and had a drink while 3d-ing. I probably should have taken a photo of the drink for the benefit of the steem crowd but didn’t. JJ piked out but the kids stayed up with me (probably for the novelty of staying up til midnight as 8yo’s bedtime is 8, and the big two at 9:30). Despite procrastinating for pretty much the entire day I managed to finally close the retopo and have started painting.
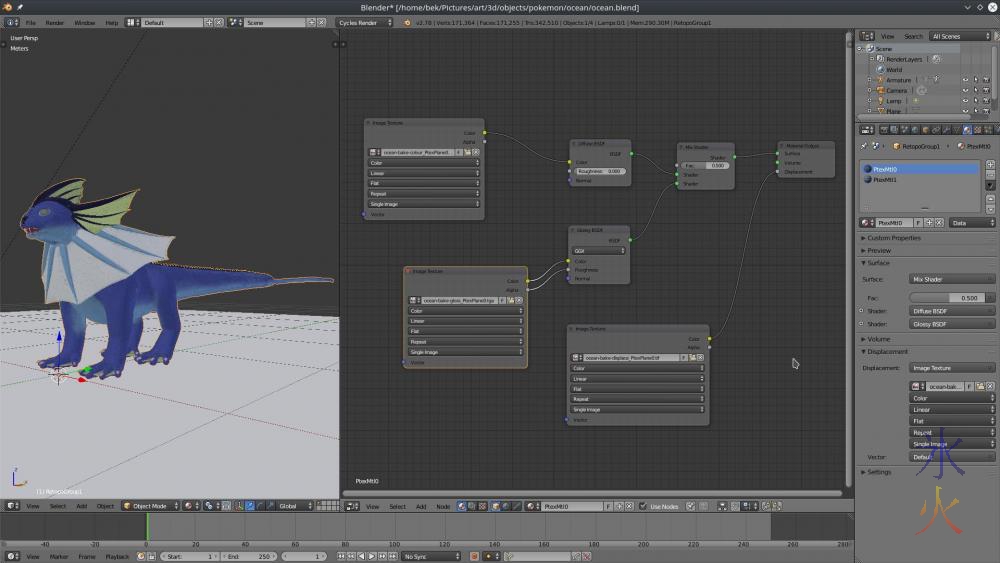
3D Coat/Blender notes: Getting ptex textures from 3d Coat to Blender
Wednesday, 12 October 2016 @ 8:47pm
tl;dr: bake the damn things.
After painting, from the paint room go to Textures > Texture Baking Tool
Fill in the stuff on the dialogue box as appropriate (I have no idea how correct my settings are, I tend to take a best guess with anything I don’t know :P)
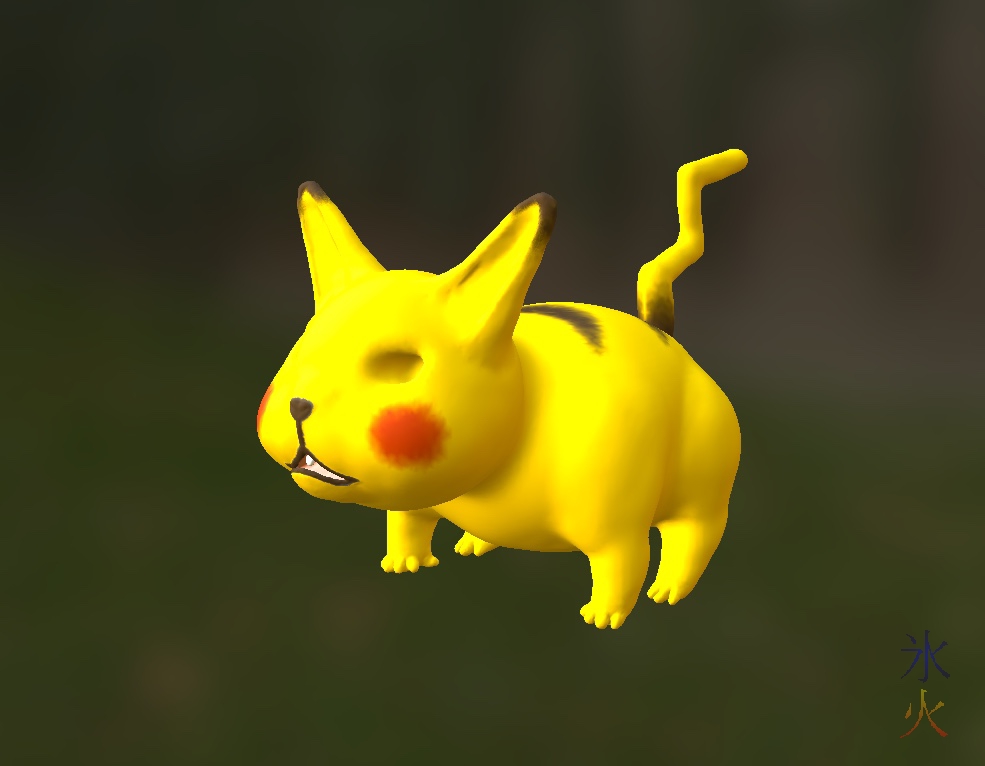
3d pikachu wip
Sunday, 3 January 2016 @ 8:47pm
Testing out 3dCoat’s sculpting tools as well. Roughed out shape with voxels then switched to live clay for detailing. Painted and autopo’d and automapped (I swear that thing is going to make me so slack - the manual retopo tools are also pretty awesome) and exported but haven’t fired it up in Blender yet.
This work by ryivhnn is licensed under a Creative Commons Attribution-NonCommercial-NoDerivatives 4.0 International License
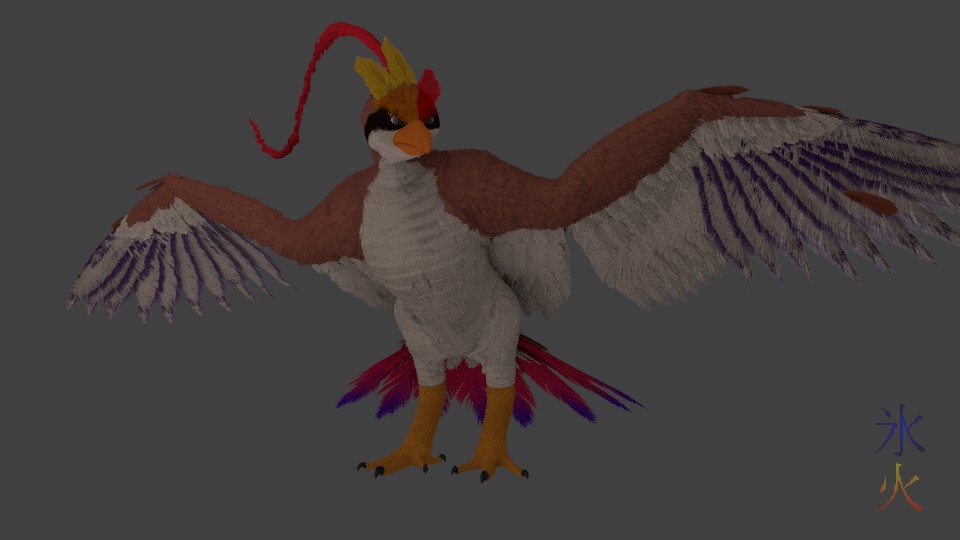
3d mega-pidgeot progress
Tuesday, 6 October 2015 @ 8:38am
Starting work on my entry for The Great Pokemon Sky Race Collaboration. I need to do another version of 3d-fyn (because the last one blew up while I was fiddling with something, probably the rig, and then I reworked Base’s rig anyway) as well. 3d-fyn will be riding Flashwing (pidgeot from my Pokemon Yellow game) in mega-evolution (I think mega evolutions are kinda dumb really, however mega-pidgeot form is theoretically big enough to carry 3d-fyn otherwise we’d need an enormous pidgeot).
Blender notes: extremely basic hair
Monday, 8 June 2015 @ 2:16pm
When I did the head hair I did a scalp (copy of the…uh…scalp on the top of the head where the hair is growing out of shrunk down to fit just inside the head) with its own material to colour the hair strands because it was the easiest thing to do as the hair strands pick up whatever texture is applied to the geometry. Wasn’t too crazy about the extra geometry but couldn’t work out how everyone else on the planet had done it so crashed around the particle system and node tree til I got something going.