za'haran
AER March ProgBlog #2
Tuesday, 13 March 2018 @ 10:55pm
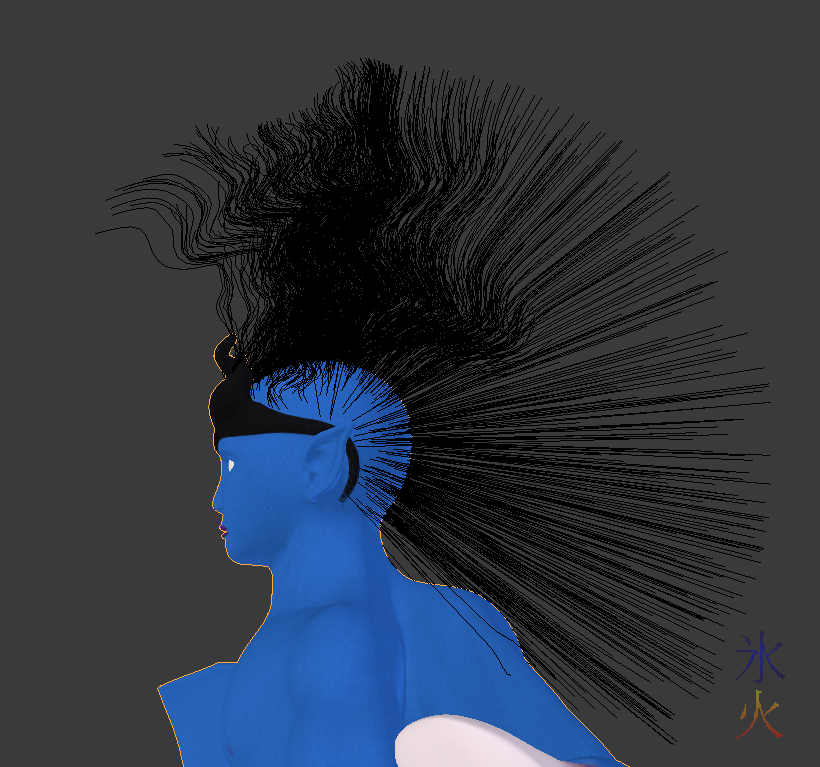
Currently all about hair and pants.
I did the pants first to procrastinate the hair.
They do actually have a pattern but I turned down the lights so the skin wouldn’t be so overblown, so it’s something that will be noticed in bright light. Otherwise they look like…black pants. I was thinking of using velcro for the trail strap but may end up just making it an elastic loop as maybe in the future there will be little nano thingies in the clothes that automatically repair fraying clothing so the elastic doesn’t give out.
AER March ProgBlog #1
Monday, 5 March 2018 @ 5:08pm
Lame excuse: I haven’t done a progblog forever because I got well and truly stuck redoing the prehensile tail rig, but I think I’ve fixed it now, and made it work (to some value of work) with the pitchipoy rig (the spline and its controllers are actually on their own rig, but the spline controllers are copying the location of some controllers that are on the pitchipoy rig with additional thingies to keep them from moving too far from each other, feels a bit convoluted but it works).
Happy New Year!
Monday, 1 January 2018 @ 12:15am
Farewell 2017, happy 2018!
I did my usual and had a drink while 3d-ing. I probably should have taken a photo of the drink for the benefit of the steem crowd but didn’t. JJ piked out but the kids stayed up with me (probably for the novelty of staying up til midnight as 8yo’s bedtime is 8, and the big two at 9:30). Despite procrastinating for pretty much the entire day I managed to finally close the retopo and have started painting.
AER ProgBlog: more retopo and another character backstory piece
Sunday, 17 December 2017 @ 8:09pm
I was supposed to do this before Silly Season kicked all the way in and…well I’m in some downtime before it arcs up fully so here we go XD
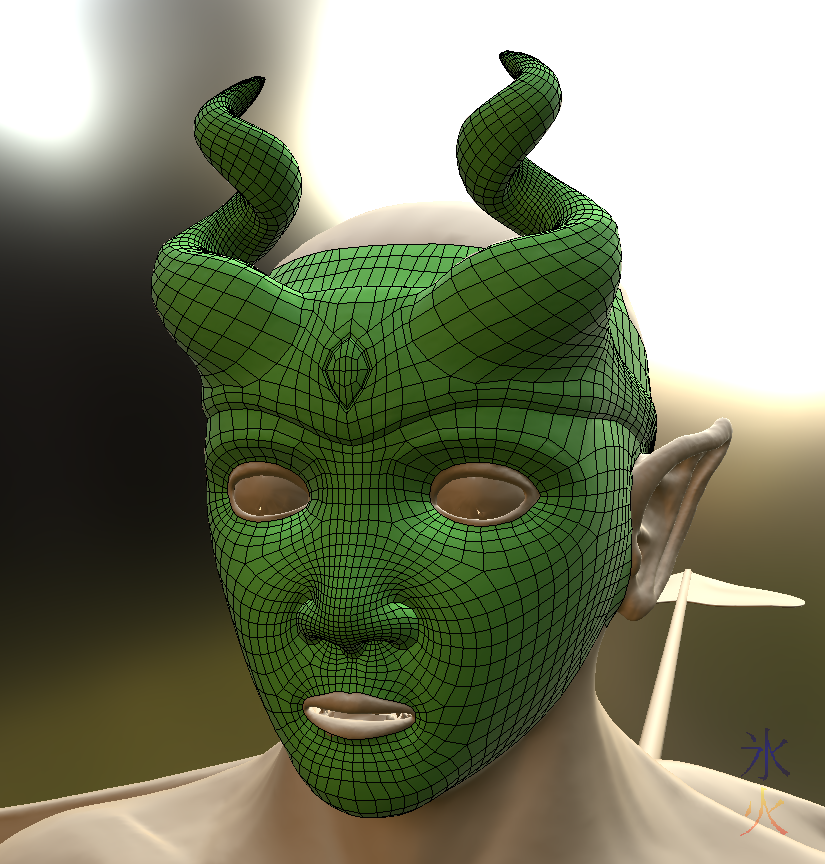
Retopo is going slowly and painfully as per usual. I just have to finish the wings and then I can start painting, and hope that my retopo job isn’t completely crap and that he animates all right. Then after that I have to fix the rig and give him some hair and then maybe have a little fun while I work out who I’m doing next.
Very late Thursday streaming!
Saturday, 29 July 2017 @ 12:41pm
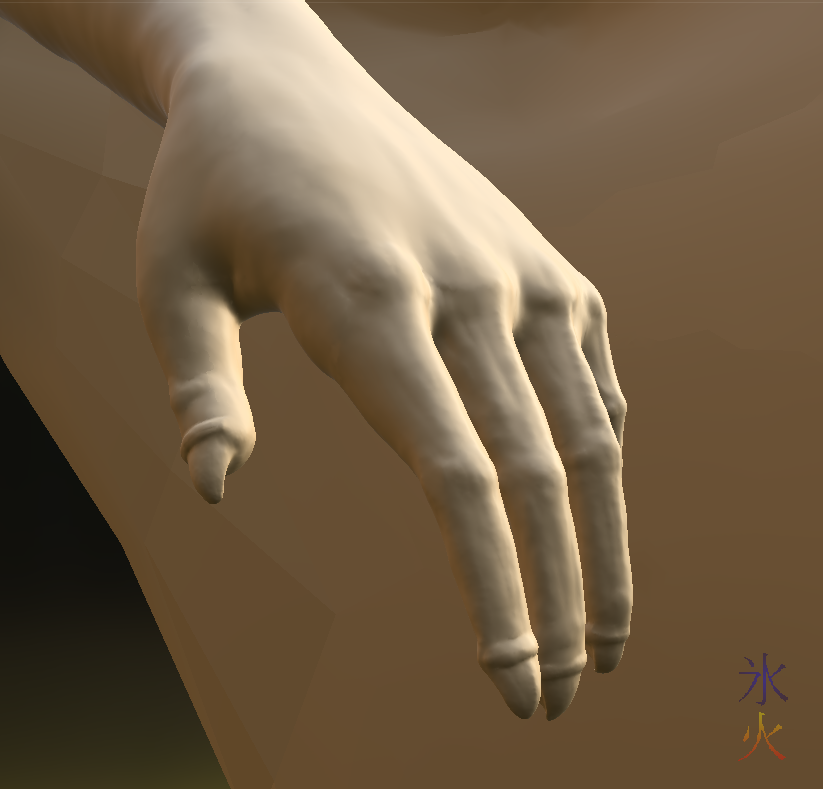
This one is from last Thursday! A lot of stuff happened that prevented solid work on it so it ended up getting dragged out for the entire week! And then I didn’t stream this Thursday because other stuff had to happen. But we got there eventually! In this one I finish off High and continue working on Red. Digits are my nemesis (yes I have several of them).
Track list Third Eye Blind: Semi-Charmed Life Savage Garden: Affirmation Secret Garden: You Raise Me Up Mark Mancina: Toe Feiloa’i Collective Soul: Run Walk the Moon: Shut Up and Dance Thomas Bergersen: Dragonland Fun ft Janelle Monae: We Are Young Red Hot Chilli Peppers: Tell Me Baby REM: Shiny Happy People Thomas Bergersen: Promise Thomas Bergersen: Soulseeker David Arkenstone: Starlight Inception Main Theme Thomas Bergersen: Aura Cat Empire: The Chariot Red Hot Chilli Peppers: Scar Tissue Lin-Manuel Miranda and Opetaia Foa’i: We Know The Way (from Moana) Thomas Bergersen: Starvation The Wallflowers: One Headlight Mark Mancina: Navigating Home (from Moana) Imagine Dragons: Radioactive Jason Raize and The Lion King Ensemble: Endless Night (from The Lion King Broadway Musical) Bon Jovi: You Give Love a Bad Name The Mighty Mighty Bosstones: The Impression That I Get Youth Group: Forever Young Globus: The Promise Guns n Roses: Civil War Paul Cardall: Our Love Scott Irby-Ranniar, Geoff Hoyle, Kajuana Shuford and The Lion King Ensemble: I Just Can’t Wait to be King Eric Whitacre, Conspirare and Craig Hella Johnson: What If Andrew McMahon: Synesthesia Thomas Bergersen: A Place in Heaven Thomas Bergersen: Remember Me Eskimo Joe: Just Don’t Feel Piano Guys ft Megan Nicole & Alex Goot covering Begin Again (original by Taylor Swift) Alex Goot and ATC covering Good Time (original by Owl City and Carly Rae Jepsen) Thomas Bergersen: Soulseeker Mark Mancina, Opetaia Foa’i, Te Vaka and Pasifika Voices Choir: Te Ka Attacks Vai Mahina, Sulata Foai-Amiatu and Matthew Ineleo: An Innocent Warrior (from Moana) Jebediah: Harpoon Mummer’s Dance cover (original by Loreena McKennit which is what’s linked because I still can’t find my version) Ramin Djawadi: The Children (from Game of Thrones) Lindsey Stirling: Shadows Coldplay: Clocks Mr Mister: Kyrie The Smart: City Lights Everclear: Wonderful Creed: My Sacrifice Eskimo Joe: New York Spin Doctors: Two Princes REM: Bad Day Samuel E Wright and The Lion King Ensemble: They Live in You (from The Lion King Broadway) Phil Collins: Another Day in Paradise Thomas Bergersen: Age of Gods Yanni: Looking Glass The Piano Guys ft Shweta Subram: Don’t You Worry Child (original by Swedish House Mafia) Red Hot Chilli Peppers: Otherside City of the Fallen: Immortality Starship: We Built This City Fall Out Boy: Young Volcanoes (explicit warning) Black Eyed Peas: Where is the Love? Eagle Eye Cherry: Save Tonight Survivor: Eye of the Tiger Thomas Bergersen: Fearless Avicii: X You Audiomachine: Young Blood Bush: Glycerine Thomas Bergersen: Homecoming U2: Numb Thomas Bergersen: Cassandra Tracy Nicole Chapman, Stanley Wayne Mathis and Kevin Cahoon: Chow Down (from The Lion King Broadway) Peter Hollens: Some Nights This work by ryivhnn is licensed under a Creative Commons Attribution-NonCommercial-NoDerivatives 4.0 International License
Thursday streaming
Saturday, 24 June 2017 @ 6:03pm
Who would have thought that editing a 6 hour video would take longer than a 3 hour one? Additionally I had some fun and drama with KDEnlive, apparently its annoying settings are per project; I had to specifically tell it to use most of my cores for rendering as it kept trying to use one and overheating my computer which caused it to hang and made me mad. And even after telling it to use 7 threads (so I could have one to do stuff with) as it turned out I had to just sit and let it do its thing all by itself as if I attempted to use my computer while it was rendering something would violently overheat and then the computer would hang.
Thursday streaming - now with a process video
Friday, 16 June 2017 @ 4:07pm
This one’s especially for @jedau on Steemit hive who has made numerous requests for a process video. So here’s me retopologising Za’haran/Red like I know what I’m doing, 3hrs timelapsed into ~8.5mins (bonus: learned KDEnlive). I apologise if the flinging around in and outside the head I was doing gives anyone motion sickness. And who knew trying to credit everything I was listening to would take all day, might never do that one again XD
Forgot I was supposed to be streaming update
Sunday, 11 June 2017 @ 9:43pm
My headache has finally cleared but my shoulder is still hurting like hell so I managed to completely forget about streaming this weekend, not that I would have been able to stream for more than an hour anyway at the rate I was going, had to take very frequent breaks!
Retopo is another thing that really isn’t my friend so even if I did know a way to reuse retopo models I would likely just keep doing retopo per character just for practice.
Thursday streaming
Thursday, 8 June 2017 @ 7:34pm
Yep I’m trying to stream again. I’m currently looking at Thursdays again (because that’s when the inlaws come down to hang with the grandkids and then somehow my house gets cleaned in the meantime, yes I have awesome relatives), Tuesday nights and one of the two weekend days (which one will depend on what is going on at the time), won’t be announcing them til I can make sure the schedule works reliably though. If you’re keen as mustard you can still drop in if you like though.
Red WIP - wings, tail, hands...kinda...
Tuesday, 30 May 2017 @ 3:52pm
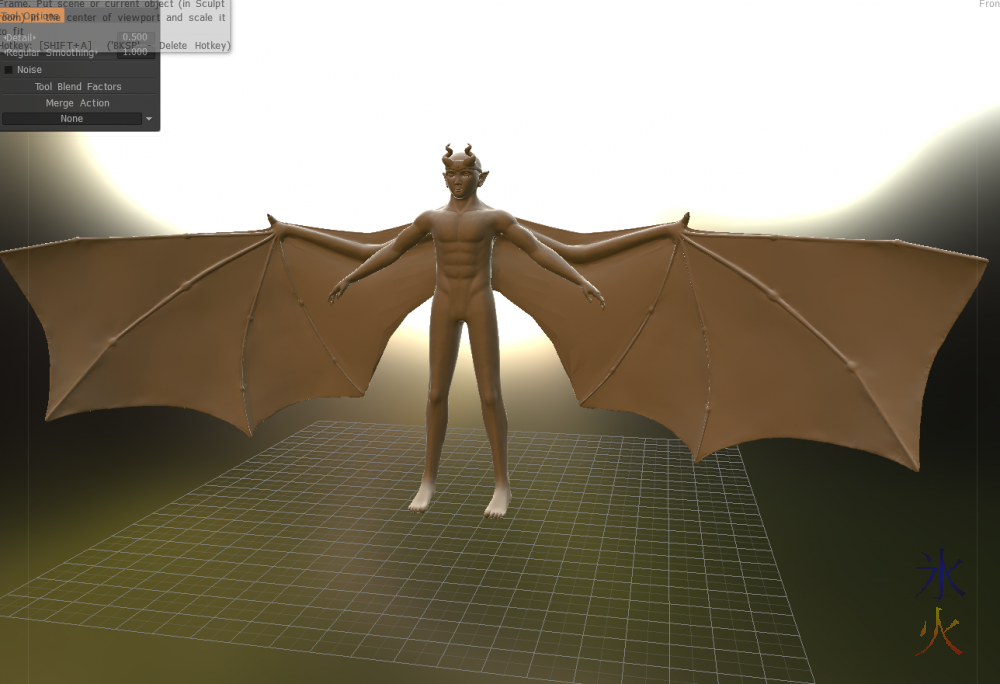
Wings are more or less done.
I say “more or less” because I was spending a very long time obsessing about the edges of the wing membranes, and then figured I should just make sure they’re thick enough to retopo around and not obsess about that kind of thing too much. So I did that for the two inner membranes (I obsessed over the two outer ones before making this realisation) and made sure the wing fingers were more or less symmetrical on either side and easily visible to retopo over.


