

texture mapping
August ProgBlog #1: the plod of eternal slow
Tuesday, 2 August 2022 @ 4:20pm
This week has been thoroughly boring as far as progress goes. Even the progress I made on roleplaying notes felt pretty meh.
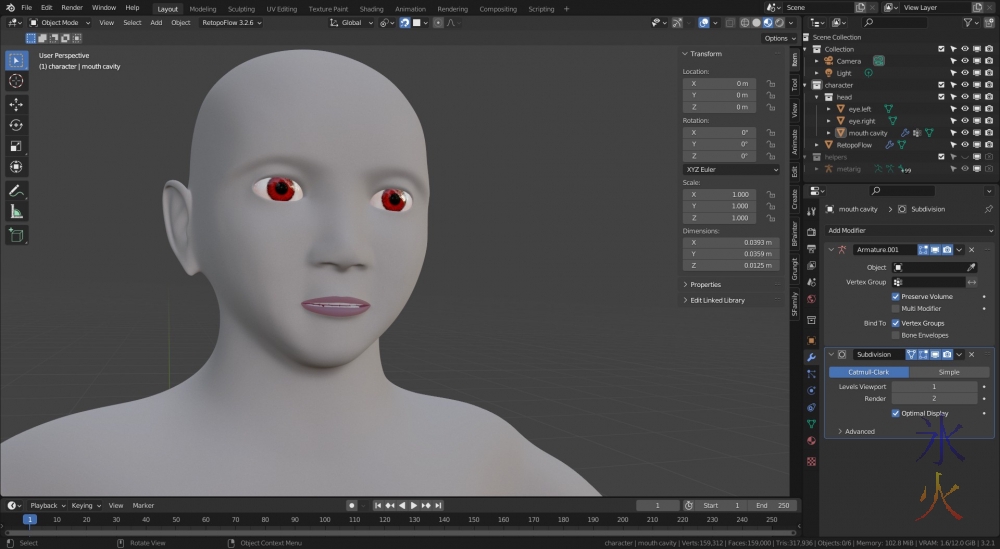
The uv maps were so horribly borked that I decided I was just going to bite it and redo the sculpt (which is a comparatively easy thing to do).
While I was there I noted that some fixes which I thought I’d done with the base model hadn’t actually been done, so decided I would actually do all the fixes on the base model that I was supposed to do, including applying basic textures, which is another thing I thought I’d already done.
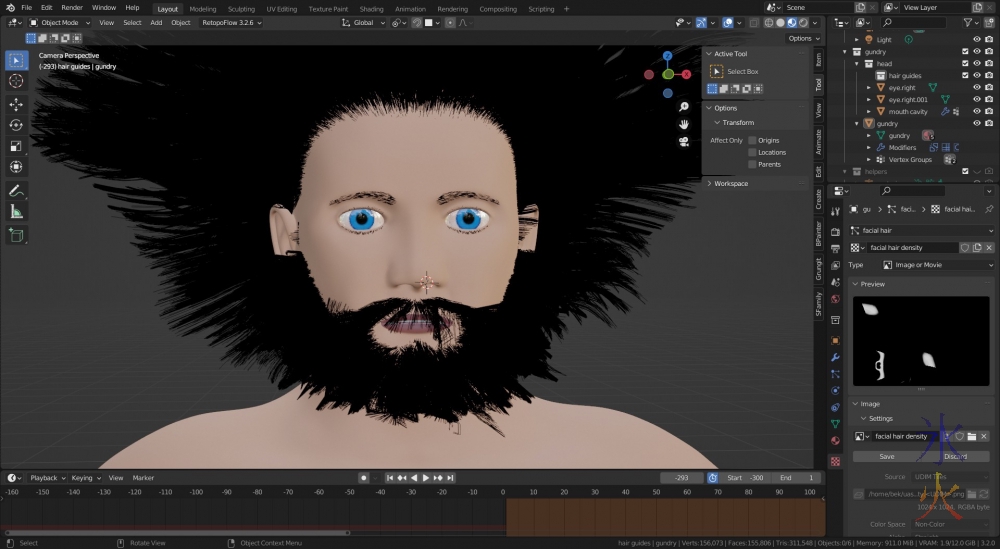
July ProgBlog #3: haaaaaaaaaair
Monday, 25 July 2022 @ 10:06pm
the title partially comes from when 17yo was a baby and said pretty much that as I think he was trying to figure out the h sound I successfully crunched a lot of roleplaying notes and even got a decent start on a couple of major npcs (I only write character sheets for major npcs, everything else gets made up on the fly as I need it) and…game on Sunday didn’t happen as one player was working (which we knew about) and the other one had a family thing on (which we found out when we pinged them to let them know we were going to be starting soon). I’ve since decided to try running that game as play by post on my Discord server, hopefully that will work out better for the people that keep consistently not making it, and also resolves scheduling issues I was having nicely (I can now run my planned weekly game on Sundays seeing as the fortnightly game is getting moved to pbp).
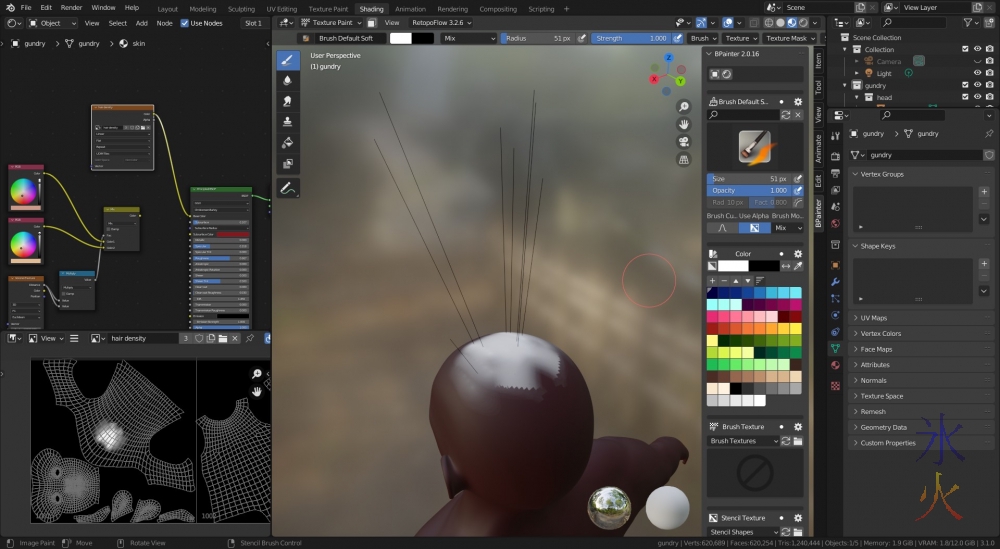
Blender 3.1 notes: using texture maps for particle hair
Monday, 4 April 2022 @ 1:07pm
First, set up the hair particle system with enough to see what you’re doing.
In the UV Editing tab, create a new image and change the Colour Space to Non-Colour.
Save the image either with Alt+S or using the Image menu.