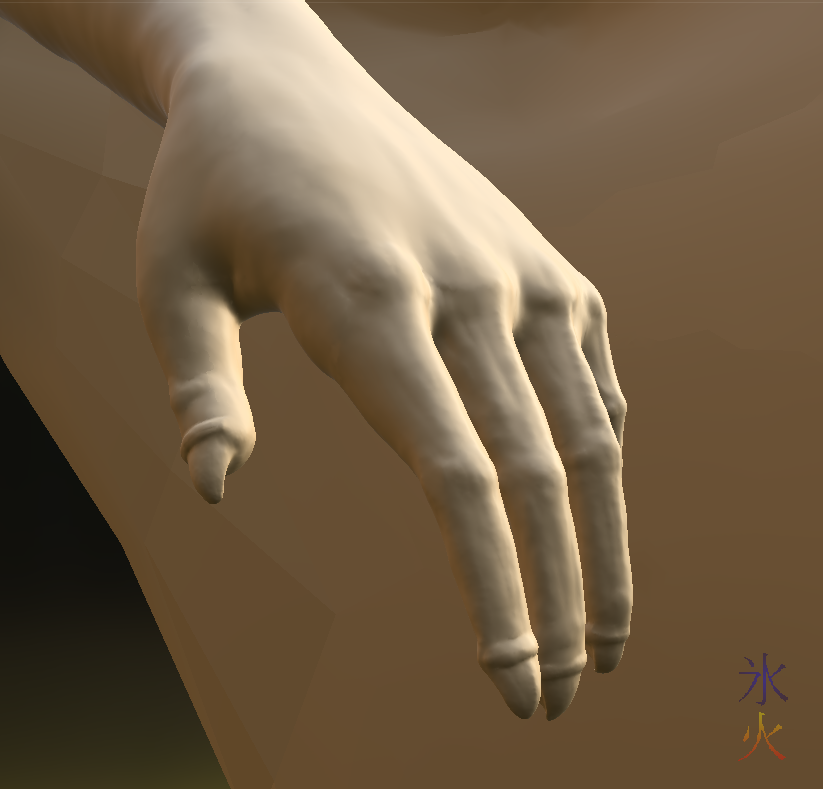
sculpting
Thursday streaming
Thursday, 8 June 2017 @ 7:34pm
Yep I’m trying to stream again. I’m currently looking at Thursdays again (because that’s when the inlaws come down to hang with the grandkids and then somehow my house gets cleaned in the meantime, yes I have awesome relatives), Tuesday nights and one of the two weekend days (which one will depend on what is going on at the time), won’t be announcing them til I can make sure the schedule works reliably though. If you’re keen as mustard you can still drop in if you like though.
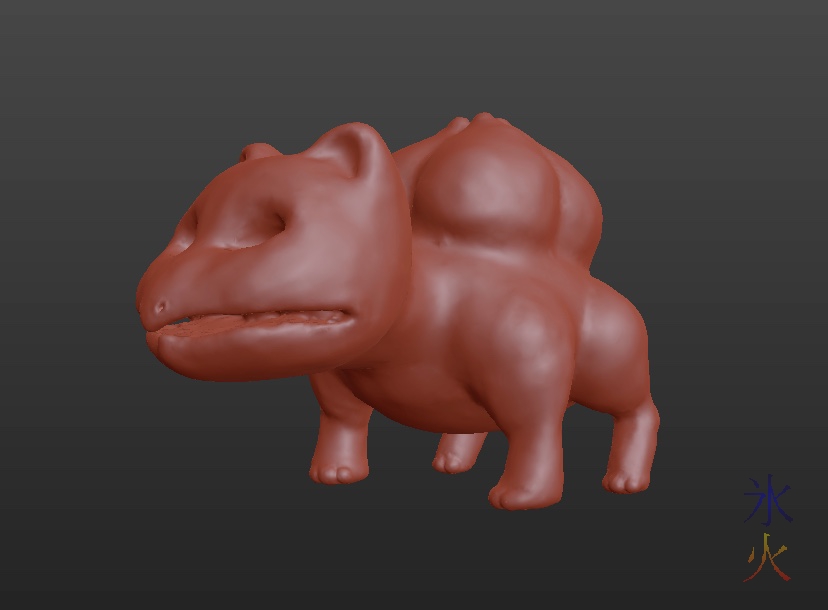
Bulbasaur digital sculpt
Friday, 1 January 2016 @ 12:34am
After a nice evening out with friends I fnished 2015 and started 2016 working on art. Everything is being progressed and this makes me happy.
Finished a dynatopo sculpt of pixietrix’s Bulbasaur. Probably would have taken somewhere between 2 and 4 hours to do if I hadn’t stuffed up the back legs, reverted and ended up a lot further back than expected (because apparently I hadn’t saved where I thought I had).
I want to see your horrendous mistake!
Monday, 13 April 2015 @ 8:22pm
I had spent a decent amount of time regaling 10yo with hilarious episodes of my 3d experimentations revolving around the shenanigans that can happen when one doesn’t parent controllers properly or grabs bones instead of controllers by accident and stuff like that. Then to prove that parents don’t know everything I showed him that I was researching some way to use a complete dynatopo sculpt rather than finishing off the multires one I was working on. While talking to him I started fixing up some errors I hadn’t noticed in the dynatopo sculpt at the time and zoomed out a bit too far, causing a brush stroke to remove too much detail over the bit I brushed over. I cried out “OH CRAP” and promptly hit the undo combo. 10yo came scurrying into the room crying “WAIT I WANT TO SEE YOUR HORRENDOUS MISTAKE!”
Square toes
Tuesday, 10 February 2015 @ 8:20pm
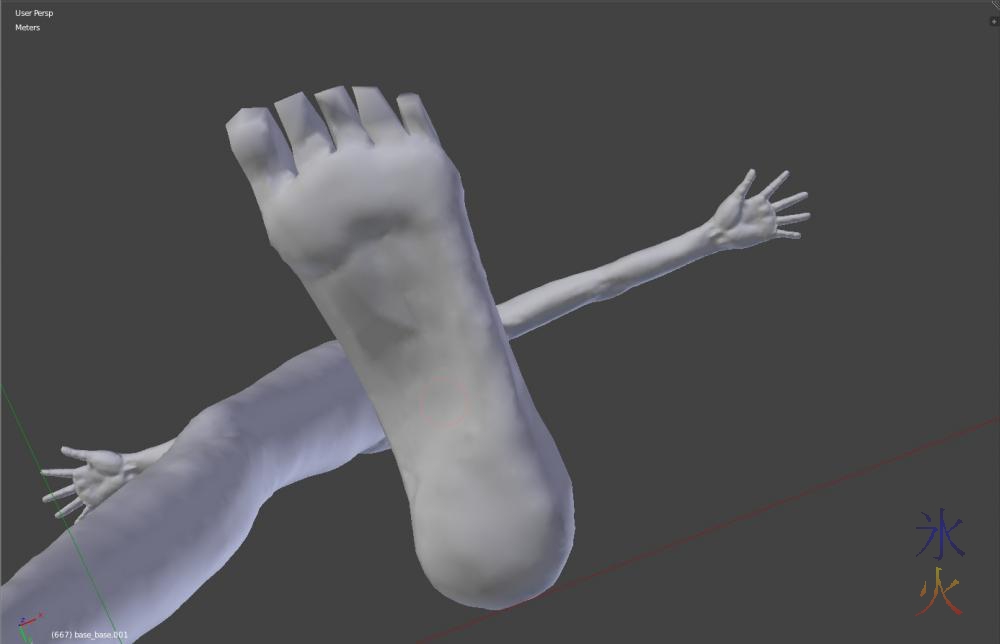
I was working on 3d-fyn’s feet when 5yo came in and observed what was on my screen.
He stared for a little bit, then leaned on my desk so he could pick up and scrutinise his own cute little foot carefully before pointing out that toes weren’t square, but at least I got one right. I told him that my base model was very square and I was fixing it up as I made my characters, and that’s what I was doing right now. He wished me luck fixing it up and trotted on his merry way. Cutely.
First sculpt done
Sunday, 15 December 2013 @ 10:27pm
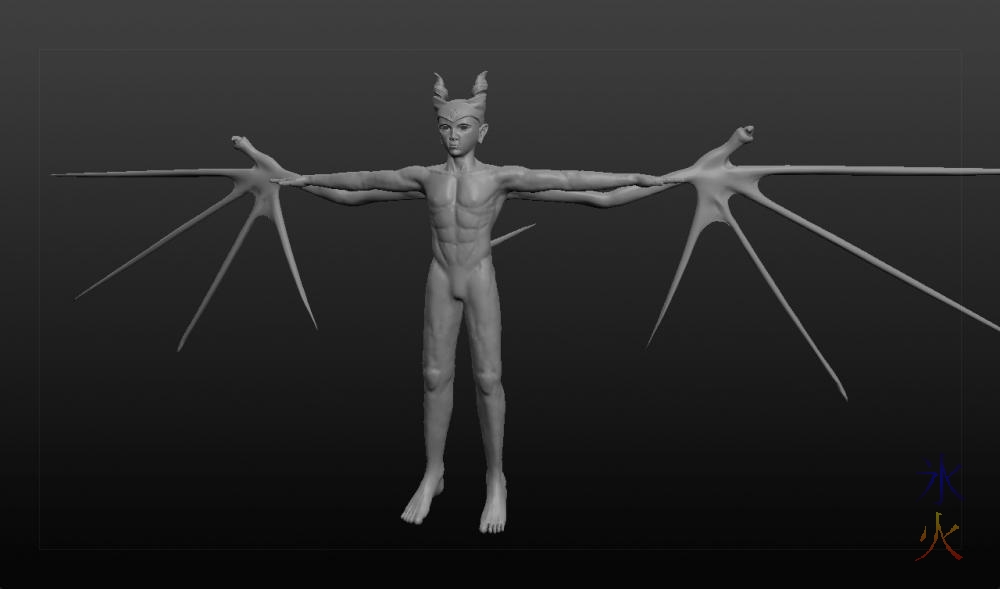
And as I said “done” and took and saved the screenshot, I went and made the knees less prominent. Roughly a month (~4 weeks) rather than one year which is much more betterer.
And now to Blender to retopo, add the tail blade (well kind of a paddle in his case) and the wing membranes, and texture and rig. This might be the first one I do in Blender as I haven’t done any more work on Twilight since finishing the subdivision. I don’t think it will mind too much. I am being optimistic thinking everything will just fall into place nicely and work, but I am really glad I can fall back to Lightwave if things get too maddening.
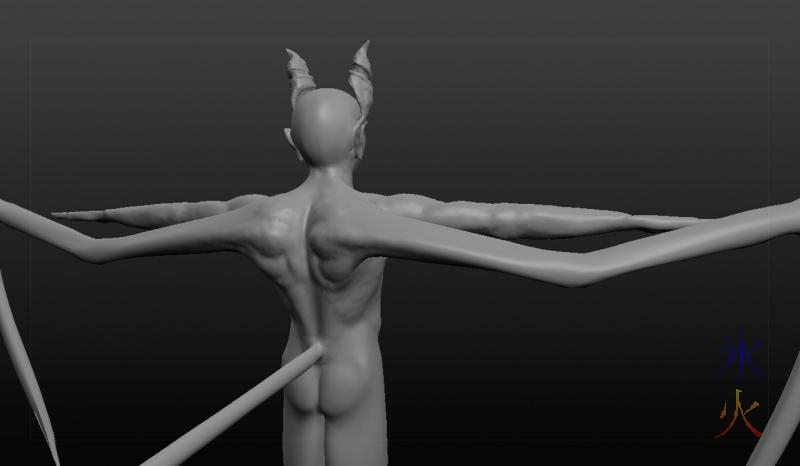
Torso and arms
Tuesday, 19 November 2013 @ 12:26am
I had thought maybe I shouldn’t post any more 3d stuff til I got to render stage, but then I optimistically decided that some people might like seeing the build in progress, and those that don’t can just ignore them til there’s something pretty.
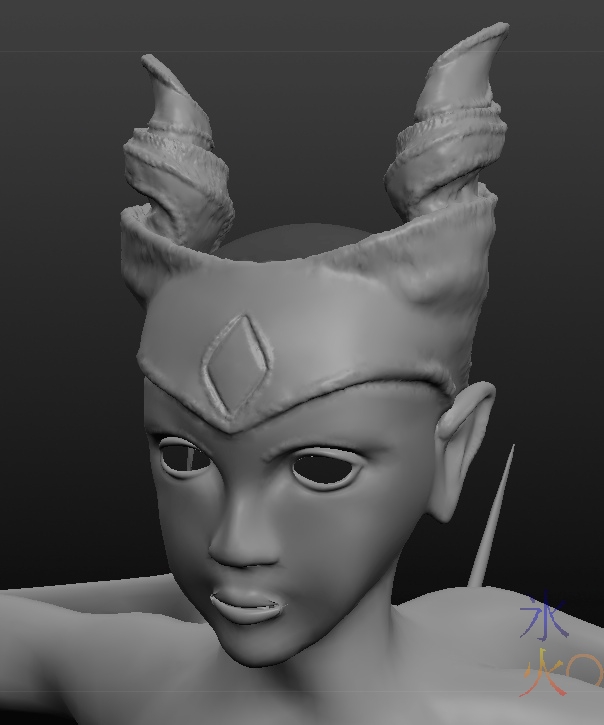
So here’s a shot of the mostly completed face with the wireframe turned on so show off how well Sculptris retopos the mesh and the dynamic topography (the dense spots on the arms are accidental touches).
You know how I said those horns were done...?
Sunday, 27 October 2013 @ 12:01am
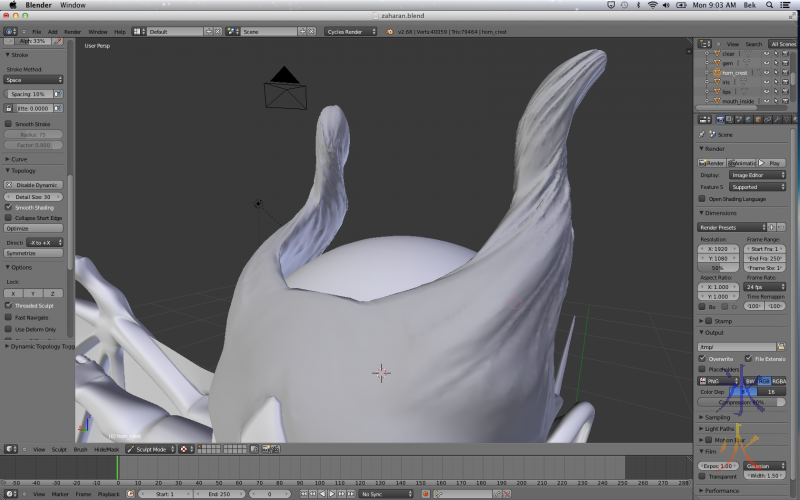
Well, the mesh borked so terribly that I figured I would probably spend about as much time fixing it as I would starting over, so I started over.
Well I was wrong.
The last version of the horns took me about 8 months all up. I don’t want to know how long I would have taken to eventually fix the mesh as I know I spent a good week or so experimenting. Starting over this version took me…
Calling horns done
Wednesday, 18 September 2013 @ 10:31am
Though I’m sure I’ll find more things to clean up and refine while I’m doing the rest of the body.
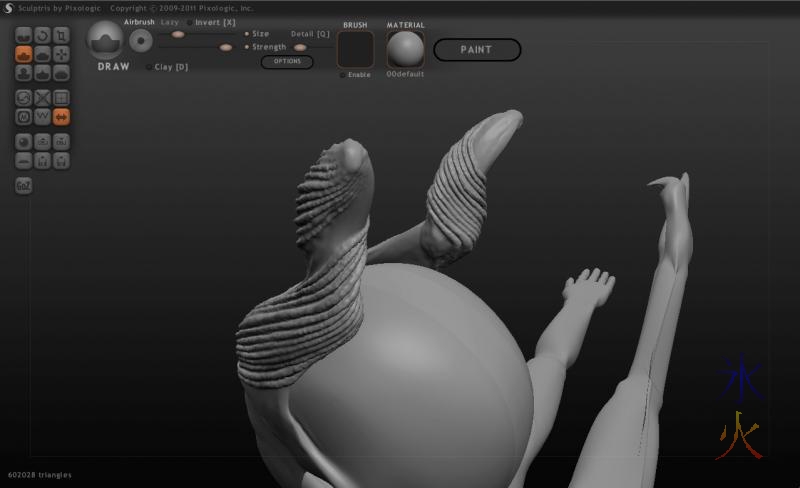
Anyway I tried to reflect nature somewhat with some horizontal bands like what’s found in kudu (what I based Red’s horns off):
Horizontal banding - can’t make it look twisty enough!
AR notes: sculpting horns
Monday, 29 July 2013 @ 10:39am
I got stuck in “after I finish this bit” loop again when I thought about taking screenshots.
Repairing the twists in the horns (following the spline guides mostly worked though near the top some of the twist is wrong and is being corrected) and rounding out some bits that are too thin (and that I couldn’t see as a problem when I was doing the spline guides because there were a billion guides, and only noticed as I was edging upwards). Also making the ridges and whatnot more prominent and varied so it looks more organic (hopefully) and less plastic. I was originally intending on making the horn ridges bump maps rather than geometry, and will have to see how I go on the other characters but I have a feeling it’s going to look better as geometry so will just bite the render time seeing as I’m not making a game :)


