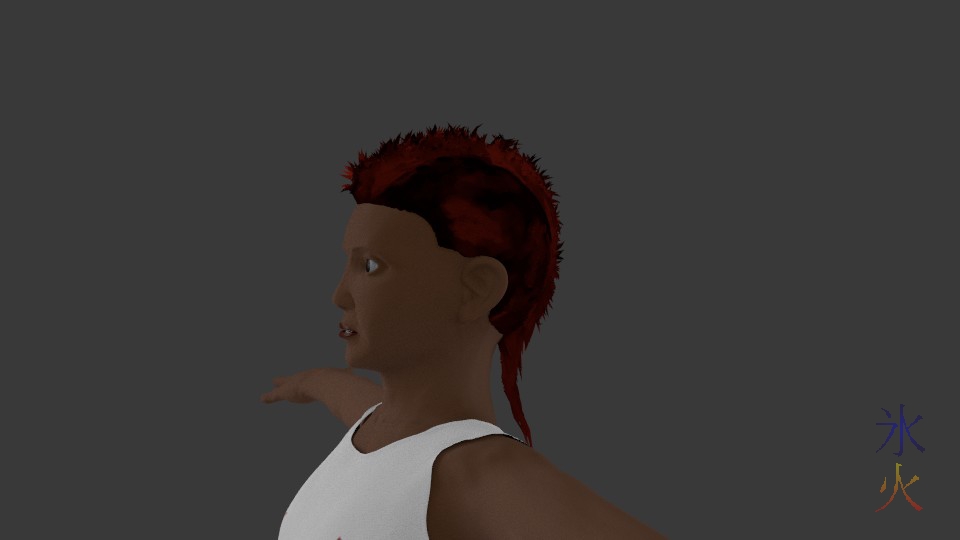
particle hair
November ProgBlog #2: splitting hairs
Friday, 6 November 2020 @ 11:13pm
October ProgBlog 3 is technically November ProgBlog 1 and just isn’t called as such because I was a seriously sleep deprived idiot at the time.
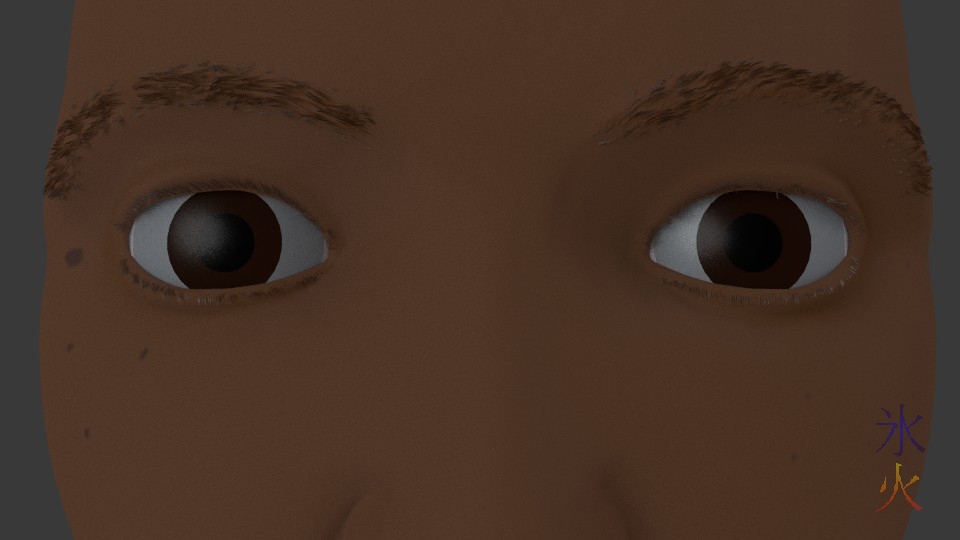
Where I left off, I’d started on the hairs by doing the reasonably easy eyelashes and eyebrows first. Okay eyebrows are pretty easy, just make a density map and then comb. Eyelashes I always have to keep painting hairs on carefully and then combing equally carefully.
January ProgBlog #1: really, really easing back in
Friday, 10 January 2020 @ 10:51pm
I was optimistic and tried but as expected it took me longer to ease back in than I wanted.
And then I injured my right thumb cleaning the stove and had a couple of days where holding the pen was painful (but towards the end of Day 0 and yesterday I tried anyway, today was better).
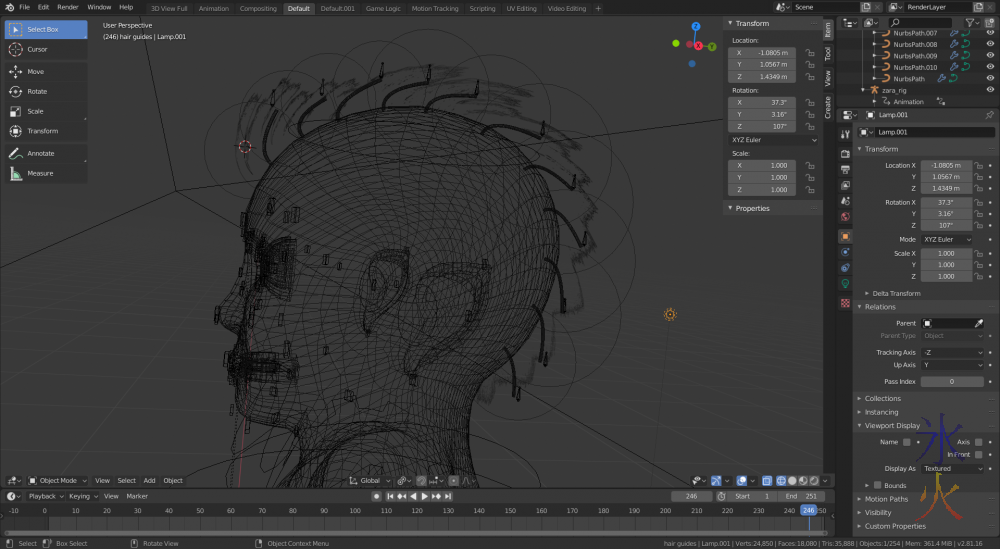
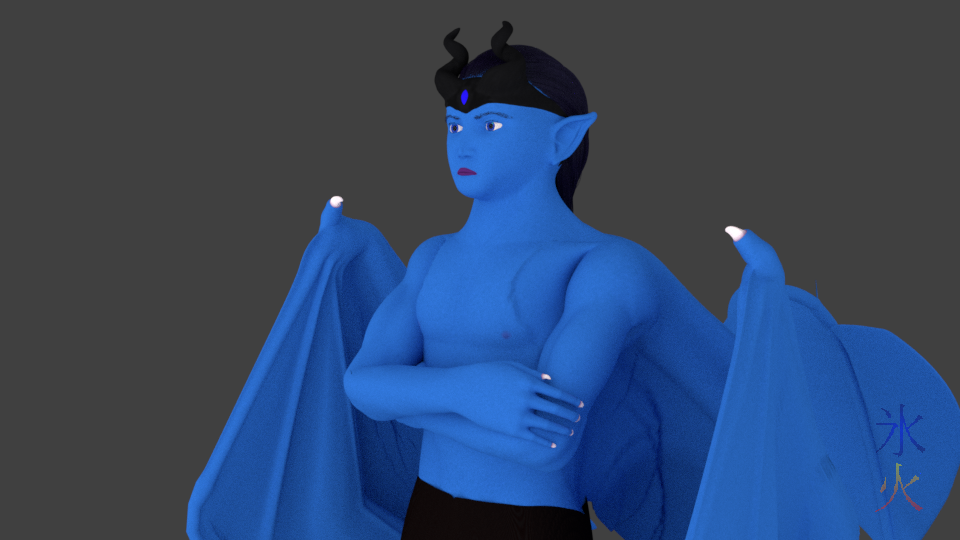
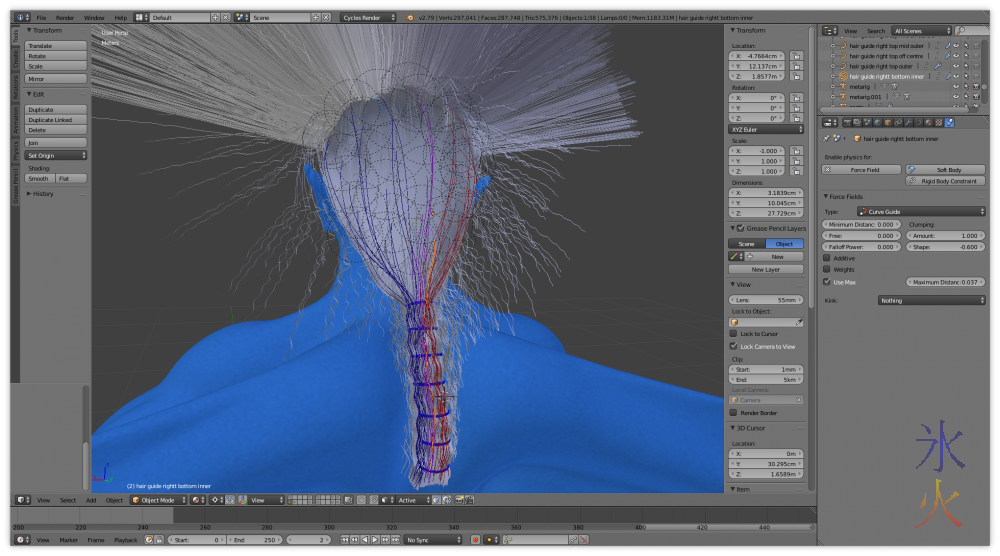
Currently working on trying to get Zara’s hair sorted. Took me a bit to remember how to x-mirror around the 3d cursor and even then because I hadn’t applied the transforms to the curves the mirrored copies were wonkered. Which was fine as I only wanted the same number of guides on both sides and didn’t want the hairstyle to be symmetrical, but it’s a bit of work adjusting.
December ProgBlog #3: winding down a bit
Saturday, 21 December 2019 @ 10:23pm
Even though we haven’t gone away this Christmas and are only doing a couple of gatherings, I’ve still managed to completely fail to get anything worthwhile done when I have been able to do anything. Last night I fell into a pit and after my computer decided to randomly crash (again) and I had to redo a whole pile of work, I ended up not even attempting the progblog and just crawling into bed to sulk.
December ProgBlog #2: not much prog to blog :S
Friday, 13 December 2019 @ 9:24pm
Most of this week has been taken up doing last second Christmas-related stuff that I’d forgotten (I’m pretty sure this is the first year I thought I better do a list for next year, in my defence it’s the first time I’ve had to keep track of enough people to require a list), so work fell by the wayside a little bit.
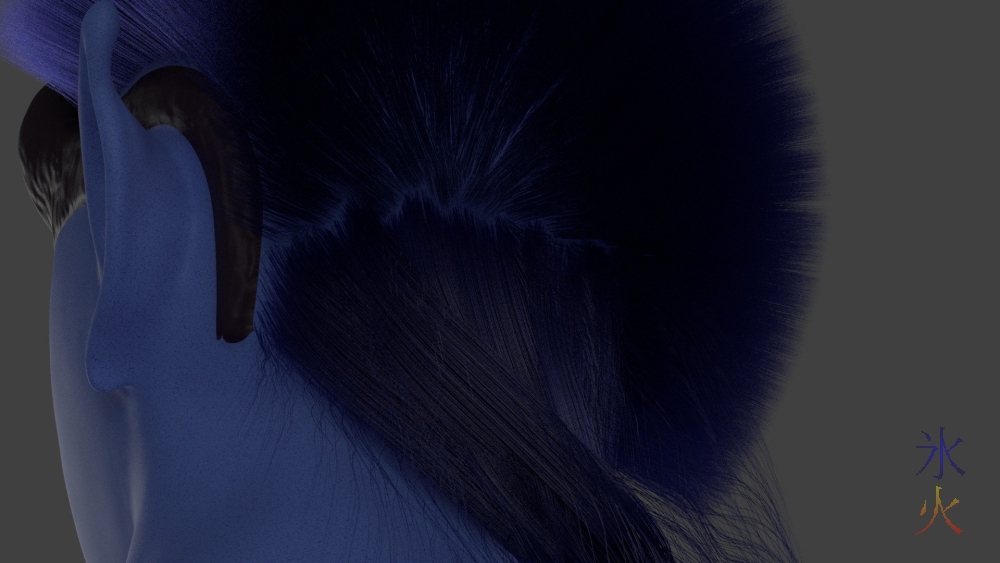
I managed to start on the hair and rig the crest.
April ProgBlog #2
Saturday, 21 April 2018 @ 4:54pm
Finally got all the stupid hair guides sorted and grouped, time for some expression testing!
Which also gives me a chance to fix weight maps. The auto-weight mapping does a pretty decent job, but it’s not perfect and touchups around the place are usually required (like for some insane reason half the innermost wing membrane was associated with the little finger why).
Blender notes: curve guides for particle hair and bonus hair colour without making separate emitter geometry
Wednesday, 18 April 2018 @ 8:13pm
Add the hair in the usual fashion.
By default the hair will just sprout wherever. To restrict it to a certain part of the mesh, create a vertex group in vertex paint mode, and then use the group you created as a density map (found at the bottom of the particle panel).
April ProgBlog #1
Tuesday, 17 April 2018 @ 4:57pm
I still haven’t worked out whether it’s better to keep a regular update even if it’s “I’m an idiot and got stuck again” or just not say anything if I’m that stuck.
So after combing the hair into the right shape, I found out a few things.
while the collision detection works really nicely in particle edit mode, it completely fails when actual physics is applied, because for whatever reason the emitter collision is completely ignored I can’t work out for the life of me how the hell to rig particle hair I’ve done spline IK for the tail rig so was trying to do something similar with the hair but don’t understand how particle weights work. Wasn’t the biggest leap to find out about curve guides, and then took me the better part of forever to work out that curve guides had to be on the same layer as the particle emitter to work. Once that was sorted out, I then spent way too long playing around with the different curve types to work out which one would be the best for the job. Seems that nurbs animates quickest so that’s what I’m using.
Blender notes: extremely basic hair
Monday, 8 June 2015 @ 2:16pm
When I did the head hair I did a scalp (copy of the…uh…scalp on the top of the head where the hair is growing out of shrunk down to fit just inside the head) with its own material to colour the hair strands because it was the easiest thing to do as the hair strands pick up whatever texture is applied to the geometry. Wasn’t too crazy about the extra geometry but couldn’t work out how everyone else on the planet had done it so crashed around the particle system and node tree til I got something going.
3d-fyn hair progression
Friday, 5 June 2015 @ 11:15pm
I have no idea what I’m doing (despite reading the internet).
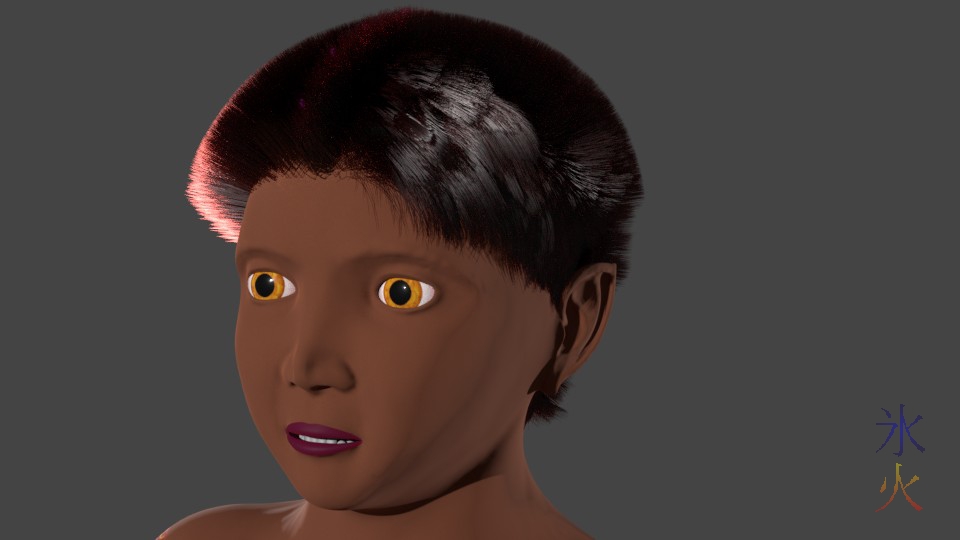
I had to redo the hair emitters about a million times because I kept blowing something up (and not knowing what I blew up, but combing strands in Particle Mode is kind of amusing for a while). When I finally got that sorted my first test looked like a polyp colony.
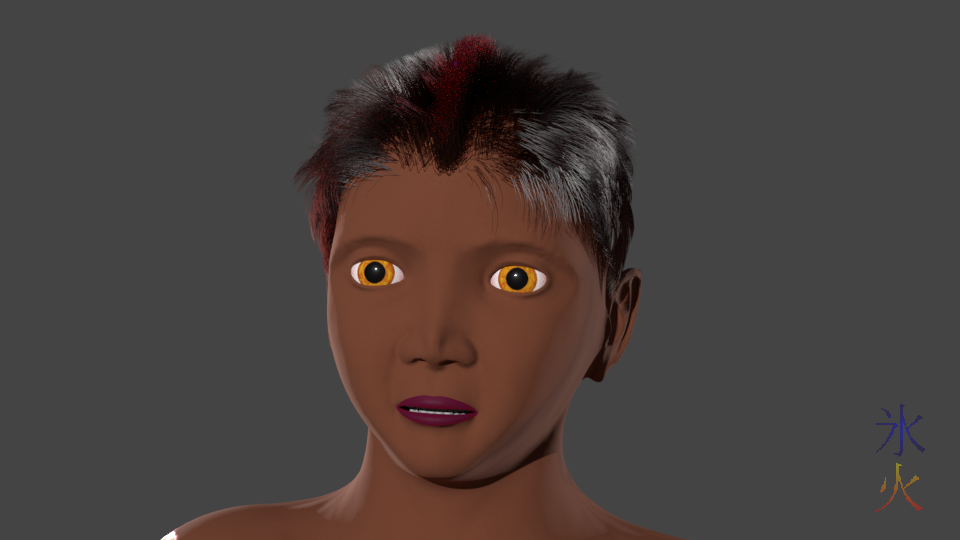
When I eventually got something I liked I couldn’t work out how to get the red (which is actually supposed to be bleached but I just grabbed a random high constrasting colour at the time) to just be on the mohawk (probably needed a uv map) and then the fuzz on the side was playing silly buggers.


