

blender

Seriously? Again?
Monday, 29 June 2015 @ 10:04pm
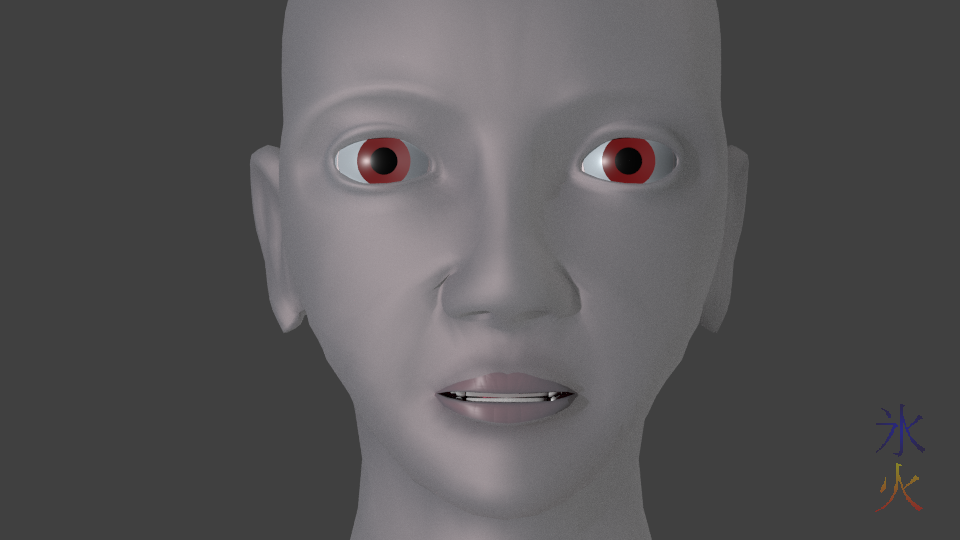
Screencap of Base after mouthing “Seriously again?” (it doesn’t have a voice). I’m trying to work out how to tackle doing bone drivers for the 10 phoneme key shapes I have. They’ll easily fit on the three mouth controllers that I have seeing as I only use one direction for anything but knowing my luck I’ll have a hell of a time remembering what’s what.
Still it may have to happen seeing as bone keys are a lot easier to move than shape key keys (I actually can’t seem to move shape key keys at all for some reason).
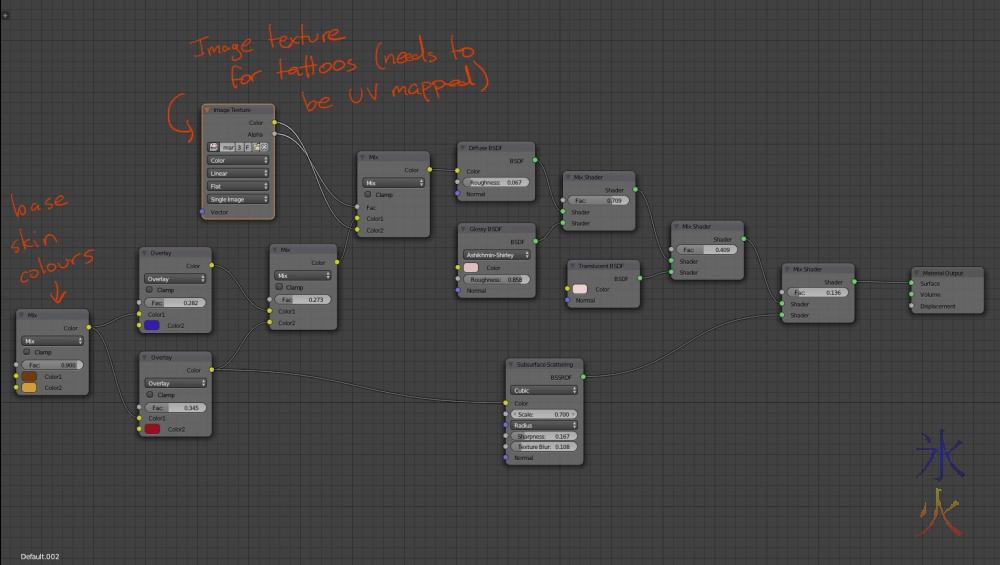
Blender notes: extremely basic hair
Monday, 8 June 2015 @ 2:16pm
When I did the head hair I did a scalp (copy of the…uh…scalp on the top of the head where the hair is growing out of shrunk down to fit just inside the head) with its own material to colour the hair strands because it was the easiest thing to do as the hair strands pick up whatever texture is applied to the geometry. Wasn’t too crazy about the extra geometry but couldn’t work out how everyone else on the planet had done it so crashed around the particle system and node tree til I got something going.
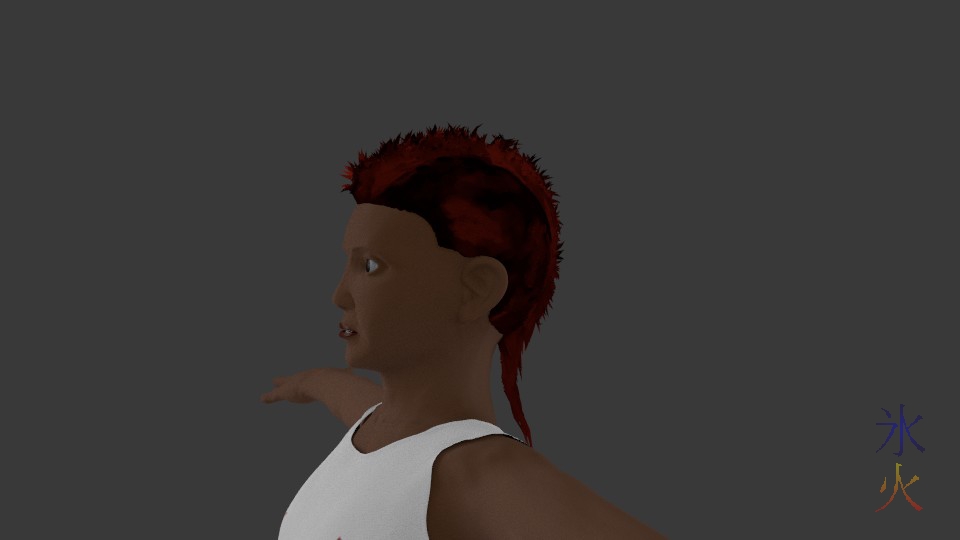
3d-fyn hair progression
Friday, 5 June 2015 @ 11:15pm
I have no idea what I’m doing (despite reading the internet).
I had to redo the hair emitters about a million times because I kept blowing something up (and not knowing what I blew up, but combing strands in Particle Mode is kind of amusing for a while). When I finally got that sorted my first test looked like a polyp colony.
When I eventually got something I liked I couldn’t work out how to get the red (which is actually supposed to be bleached but I just grabbed a random high constrasting colour at the time) to just be on the mohawk (probably needed a uv map) and then the fuzz on the side was playing silly buggers.
3d-fyn work in progress shots
Friday, 29 May 2015 @ 11:25pm
When I’m not finding UV mapping agonisingly quirky, I’m being frustrated by Blender’s borderline unusable viewport lagginess at 2.2M polys. There is some progress being made. UV mapping was interesting as I couldn’t figure out how to project onto part of a mesh like I’ve done previously in Lightwave so I ended up mapping the entire object om question. For the shirt I just painted the whole thing and ued minimal nodes for colour and bump maps. For the tattoos and face markings I stuffed around a hell of a lot with the skin shader and eventually got them on there but it now means I have blue freckles instead of dark brown.
I want to see your horrendous mistake!
Monday, 13 April 2015 @ 8:22pm
I had spent a decent amount of time regaling 10yo with hilarious episodes of my 3d experimentations revolving around the shenanigans that can happen when one doesn’t parent controllers properly or grabs bones instead of controllers by accident and stuff like that. Then to prove that parents don’t know everything I showed him that I was researching some way to use a complete dynatopo sculpt rather than finishing off the multires one I was working on. While talking to him I started fixing up some errors I hadn’t noticed in the dynatopo sculpt at the time and zoomed out a bit too far, causing a brush stroke to remove too much detail over the bit I brushed over. I cried out “OH CRAP” and promptly hit the undo combo. 10yo came scurrying into the room crying “WAIT I WANT TO SEE YOUR HORRENDOUS MISTAKE!”
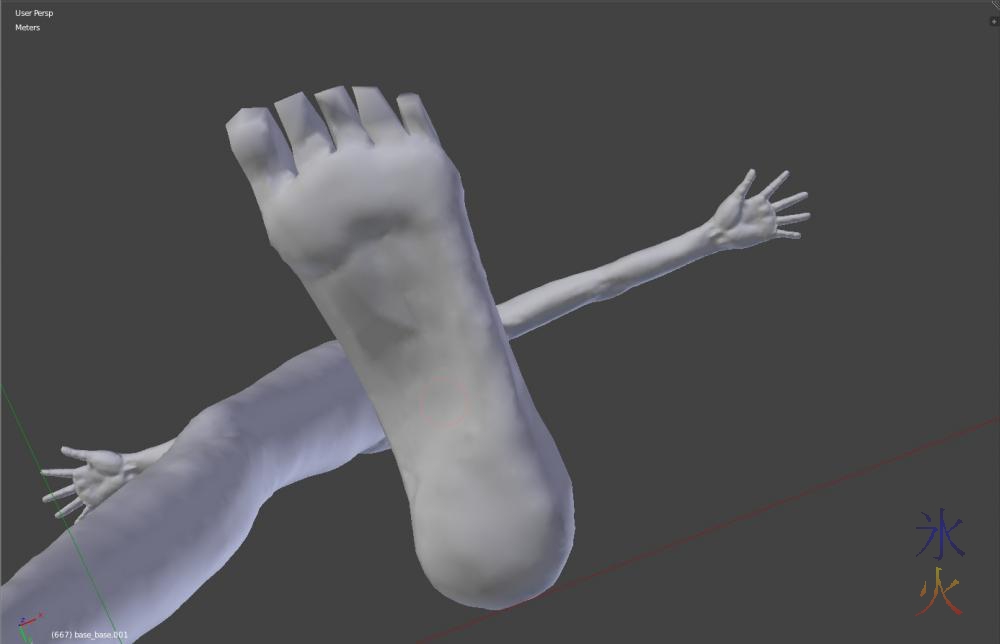
Square toes
Tuesday, 10 February 2015 @ 8:20pm
I was working on 3d-fyn’s feet when 5yo came in and observed what was on my screen.
He stared for a little bit, then leaned on my desk so he could pick up and scrutinise his own cute little foot carefully before pointing out that toes weren’t square, but at least I got one right. I told him that my base model was very square and I was fixing it up as I made my characters, and that’s what I was doing right now. He wished me luck fixing it up and trotted on his merry way. Cutely.
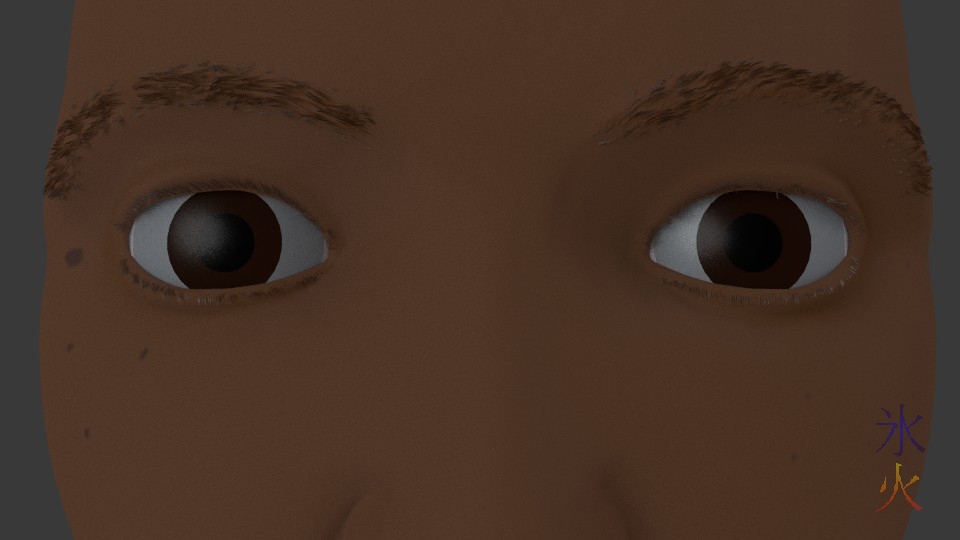
Agonisingly simple shaders
Sunday, 28 December 2014 @ 7:21pm
Learning how to texture in Blender. Here we have agonisingly basic skin, lip, eye and teeth shaders (the teeth were so basic that if I’d been using Lightwave I wouldn’t have bothered with nodes but Blender seems to use nodes for anything more complicated than a colour it seems, which is cool). Should hopefully be able to build on them on a per character basis.
This work by ryivhnn is licensed under a Creative Commons Attribution-NonCommercial-NoDerivatives 4.0 International License
Blender Adventures Part 5a - quickie expression test
Tuesday, 11 November 2014 @ 10:09pm
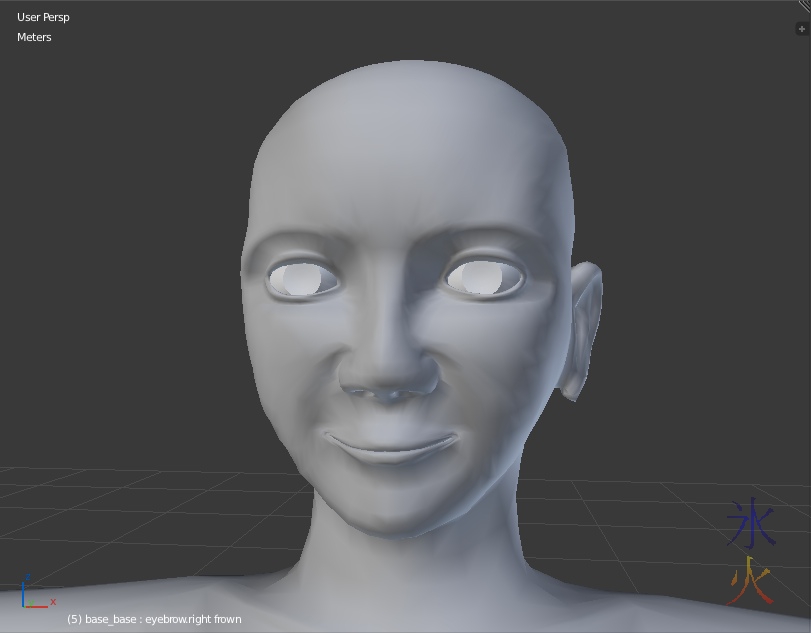
At 8yo’s request: ‘Make him frown!’ (all the bases are gender neutral)
Seeing something mildly disturbing
Blender notes - resetting shape key value to basis
Sunday, 9 November 2014 @ 10:36pm
To get a point that was moved incorrectly for whatever reason in a shape key and needs to be reset to the “Basis” position, from Adhi on StackExchange:
Use Blend From Shape:
Select all vertices whose positions you want to reset, Execute Blend From Shape, accessible from W, Ctrl-V or Mesh > Vertices menu, Set “Basis” as shape key to blend from (by default), Set blend factor to the maximum value 1.0 (by default), Uncheck Add, so only values from “Basis” will be blended in, effectively reverting all selected vertices’ position. Kind of wish there was a slightly less arseabout way to do it but a way is better than no way.
Blender Adventures Part 5
Sunday, 9 November 2014 @ 2:08pm
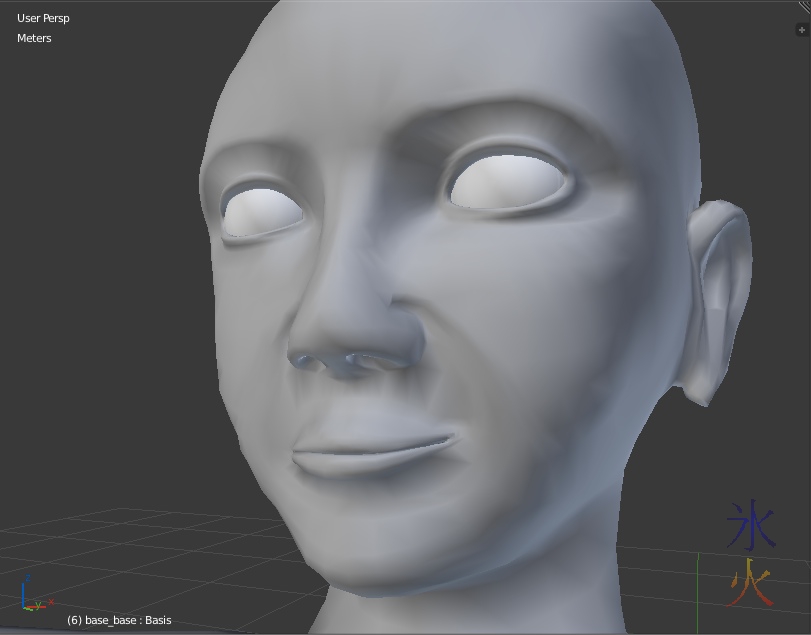
Still shape keying. Base is partially amused.
So far I’ve got all of a left eye wink and a half smile. Once I got the left half smile right and figure out where the eyelashes go I’ll mirror those shape keys and then do some really basic expression parts around happy, sad, angry and surprise which generally use the entire face. Then make some phonemes with help from this useful phoneme shape guide someone had thoughtfully thrown at the internet.