September ProgBlog #1: learning more hair
posted on: Monday, 23 September 2024 @ 11:24pm inRigify feels a lot easier to work with. Got that going faster than I’m used to, most of the fighting in the setup was not quite understanding how to set up a spline tentacle (which I’m using for the tail), for some reason I thought the entire bone chain needed to have the property set but only the root did. It currently has five middle controllers but I may need more, will have to see how prehensile we get with what I’ve got. And also making sure all the bones were in the right spot after I had to move a few things around to fit the mesh.
Red’s normal expression is pensive or sullen but I got him to smile for me because we’re getting somewhere.
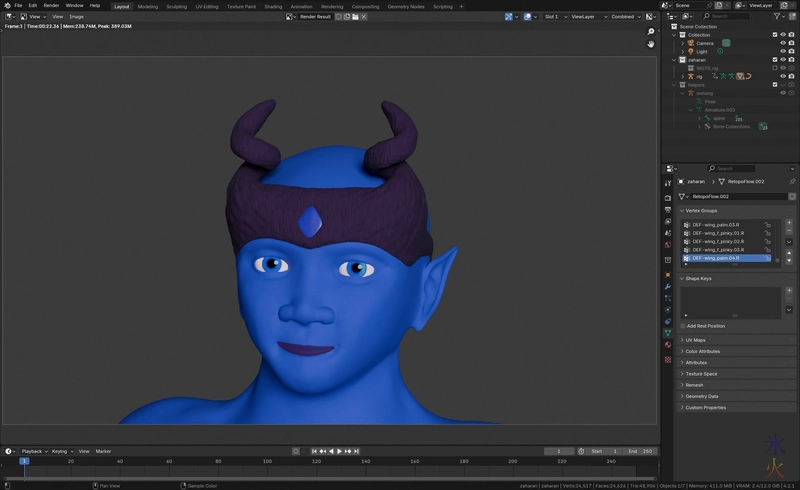
I do need to fix weight mapping (the tail is the most glaring issue) but I’ve decided I’ll rig test animate to fix that.
I’m really glad I managed to shoehorn the extra work block into my week, but of course the first day I actually got to use it, it ended up being spent researching.
Firstly I found out the hard way that BPainter had stopped working and apparently also just stopped in general as it’s been removed from blendermarket and I can’t find it anywhere else. Blender texture paint is still currently awful so in a similar vein to my retopo tools, I downloaded psd-layers ($2) to see if it would do what I want it to do whenever I next have to paint a tattoo (I just realised the next one that would have at least one tattoo is a minor character and I don’t know what his tattoos look like aaaaahhhhhhhhh). The other option I have in mind is PBR Painter, and ages later I also found ucupaint and HAS Paint Layers which I’ll probably try in that order before or after psd-painter (ucupaint is open source so it gets priority).
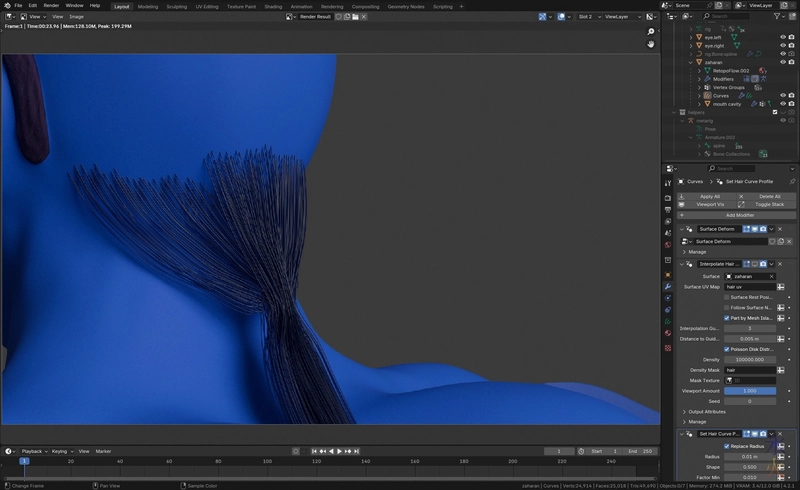
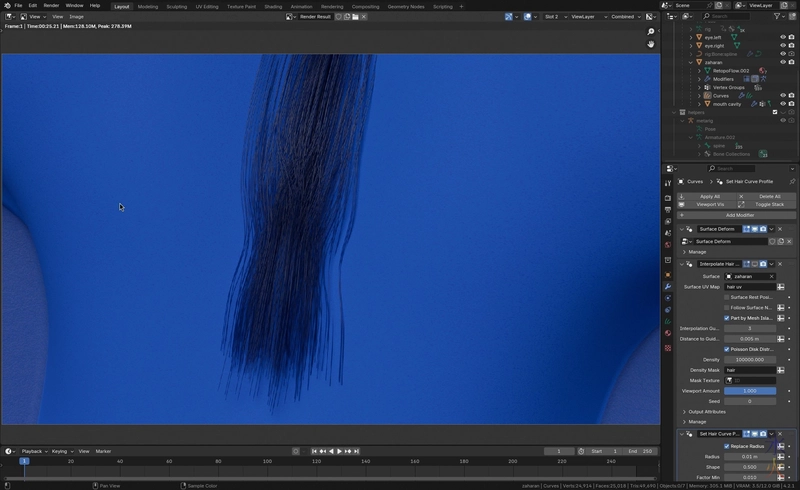
Secondly I needed to try to figure out the hair system. Everything is video tutorial because reasons so I struggled, and then struggled more as it kept complaining about “Invalid surface UVs on [x] curves” which led to a lot of actually using the Select Overlap to find all the tiny little overlaps my eyes missed (particularly in the retractable claws, I have a feeling I’ll have to fix the Dragonkin bases next character).
At least the uv map is theoretically better because it did not make the error message go away. I did a bit more testing and while it was apparently supposed to be able to to work if it was on the first tile of a udim map it wasn’t happening for me to multi uv maps it is.
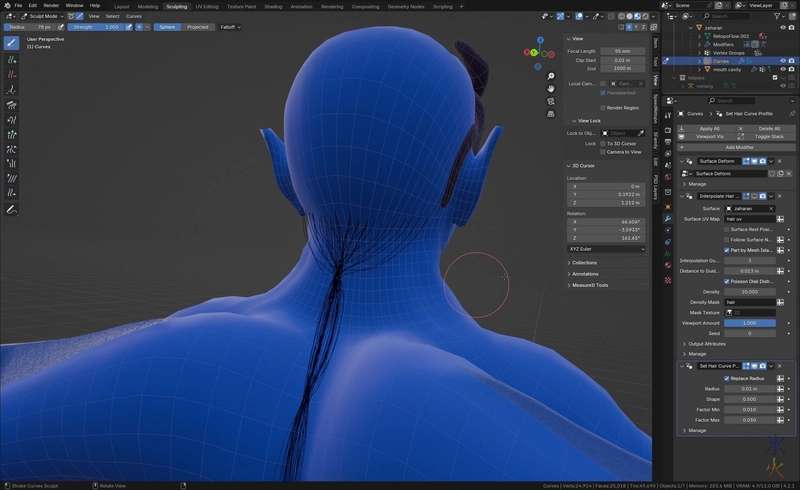
Doing hair with the new hair system is about as tedious as doing it with the old particle system.
Every time I got bored I would work on my latest roleplaying system (it’s an unholy abomination combining aspects from Tri-Stat, Savage Worlds and Chronicles of Darkness) or openstreetmap a block.
I got bored a lotI don’t even know if I need this many guides, it’s kind of hard to experiment with this guy because he has long hair and I could and probably should break the hair into sections but he has a relatively simple hairstyle so I’m much too lazy for that.
Also I have to set the density way, way higher than I’m used to. I’m trying very hard not to worry too much about it because different system so it would work differently under the hood but it makes my dyscalculiac brain hurt.
It’s shaping up okay I think so hopefully it will look passable at the end.
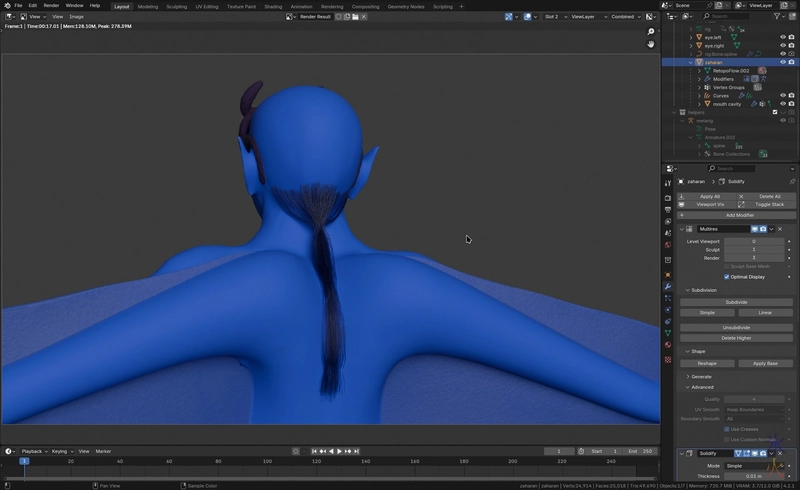
Closeups I’m much less sure about and I don’t know what’s causing the striping.
I’m sure it will turn out fine at least for my purposes and will probably have improved a lot again by the time I get around to doing anything approaching useful.
This work by ryivhnn is licensed under a Creative Commons Attribution-NonCommercial-NoDerivatives 4.0 International License


