Blender 3.1 notes: using texture maps for particle hair
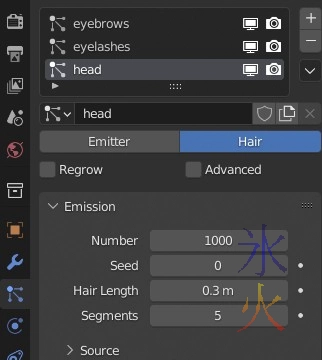
posted on: Monday, 4 April 2022 @ 1:07pm inFirst, set up the hair particle system with enough to see what you’re doing.
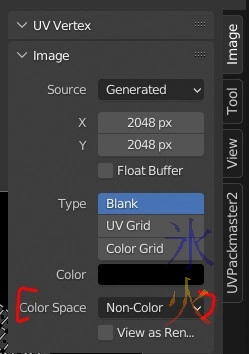
In the UV Editing tab, create a new image and change the Colour Space to Non-Colour.
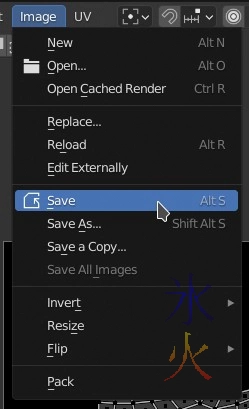
Save the image either with Alt+S or using the Image menu.
In the particles tab, select the particle system you want to use the texture for, then scroll down to Textures. Create a new texture in one of the slots.
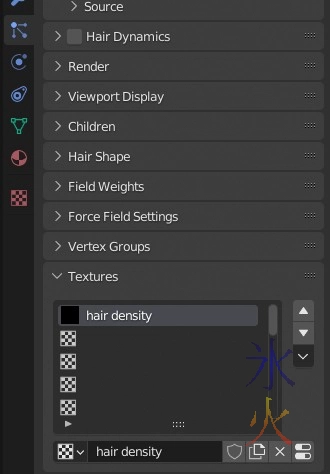
Click on the thing that looks like capsules (I think they’re meant to be settings switches) which teleports to the Texture tab.
Under the Preview section where it says Settings, click on the image button and select the image created at the beginning. The Type should be on Image or Movie by default but if it’s not, that’s what it should be.
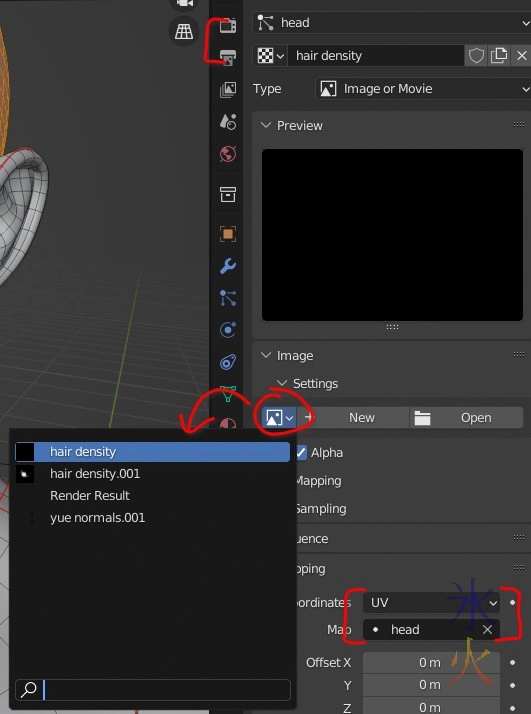
Also indicated in the above image is the Mapping section. Make sure the Coordinates are set to UV and the Map is whatever uv map you’re using (I was experimenting with just having a uv map for the head but I broke something so just dropped back to my default udim map and was too lazy to update the screenies so ignore my inconsistent uv settings and just make sure they’re right for your current project).
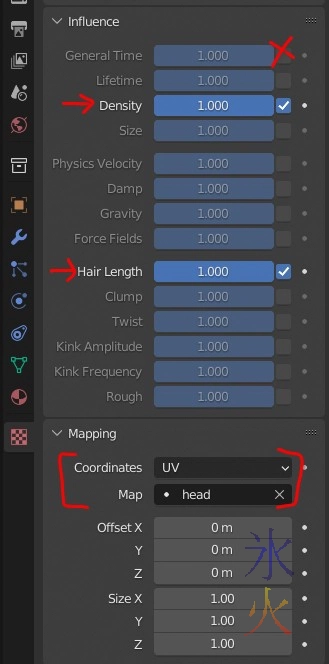
In the Influence section which should be directly above the Mapping section, untick the default option of General Time and tick Density and Hair Length (or just one or the other if you prefer, why yes it does look like there’s quite a lot that can be done with this doesn’t there).
Hop over to the Shading tab and temporarily hijack a material (skin in my case). Drop in an Image node, select the hair density texture map, start painting (I’m using BPainter which works on top of Texture Paint so I assume you can just use the Texture Paint tab) and watch the magic happen.
Because it’s non-colour data, use white to paint and black to erase (eraser won’t do anything).

This is definitely something I should have tried to figure out sooner.

