June ProgBlog #2: Blender 2.92 notes - udim tiles
posted on: Friday, 18 June 2021 @ 6:04pm inAlternate title: udim bulb.
That’s my poor attempt at a play on words, not mapping a bulb using udims x_x
I definitely feel like a dim bulb at the moment.I borked something severely while messing around with multiple single tile 8k maps, udim tiles with and without 8k tiles, and an add-on that bakes to udim tiles in preparation for this very progblog and ended up doing fun things to the ram
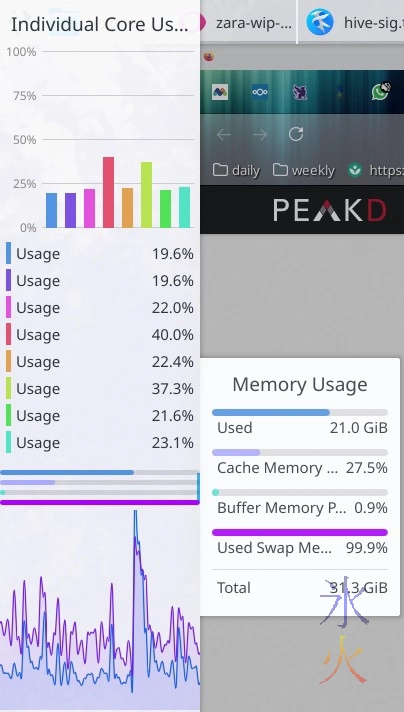
which meant it took not much to crash Blender, and also something to the mesh. I don’t know what I did to the mesh but half of it looked like it was getting baked over multiple times resulting in the polygons being very obvious and no real way to smudge things out like I would normally do for the occasional hotspot that might pop up in bakes.
Pro-tip: Blender doesn’t like lots of 8k maps. I got up to 4 before starting to experience serious issues.
In fairness, I don’t think too many programs like too many 8k maps, 3dC gave me problems as well back when I used it.
I spent 2-3 days trying to salvage the mess and then another 2-3 deleting the problem half, mirroring again, and deciding I may as well make the bake cage nice and carefully moving most of the vertices instead of just using sculpt mode to make sure the sculpt (high poly/detail) mesh was covered.
I got my nice normal bake back and saved that just in case I ended up needing to use the single tile for the normal map.
Now I’m finally back to where I was originally headed trying to write notes for these stupid udim tiles. Remembering that the maps are basically canvases, I eventually decided on 4k maps (4096x4096px) for large areas and 2k maps (2048x2048px which is 500something px shorter than the long side of the wallpaper size canvases I normally paint on) for hands and feet.
This was a very hard decision as I kind of got addicted to 8k tiles x_x from my first failed attempt at redoing the tattoos x_xThe tile plan is:

The 1000s numbers along the top is Blender’s naming convention for udim tiles. There is the option of adding labels to them but I got really lazy after having to redo it a million times as I was nutting it out.
The idea here is maximising texel space and grouping things in a sensible fashion that should work for most characters. In the cases of image maps for tattoos, I will probably make all the groups that would contain tattoos 4k and everything else 2k (or possibly even 1k if I can bring myself to do it). The other option is making specific uv maps for the tattoos on a per character basis but I’m much too lazy for that x_x
First order of business: make a new uv map (ignore this step if this is the first uvmap you’re doing/you don’t have existing uv layouts you need intact). If there are multiple uv maps, giving a descriptive label might be an idea, and also switching on the camera which I think is needed for baking.
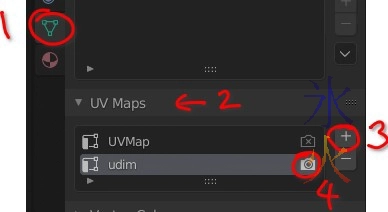
Then go to the uv editing tab and create a new image.
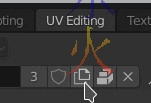
Label it something intelligent and fill in the size for the first tile.
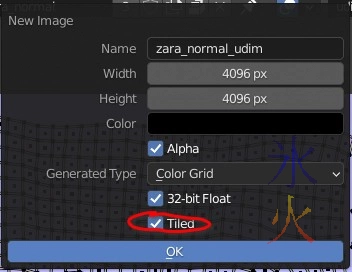
You don’t really need alpha for a normal map (I just forgot to untick it and am too lazy to redo the screenie) or 32-bit float (unles you’re an overkill type like I am x_x), the “tiled” one is important because that’s what’s making your udim tiles rather than a single tile.
If you created a new uv map the uv editing tab should have automatically switched to it but it doesn’t hurt to check (and in fact may hurt if you don’t XD).
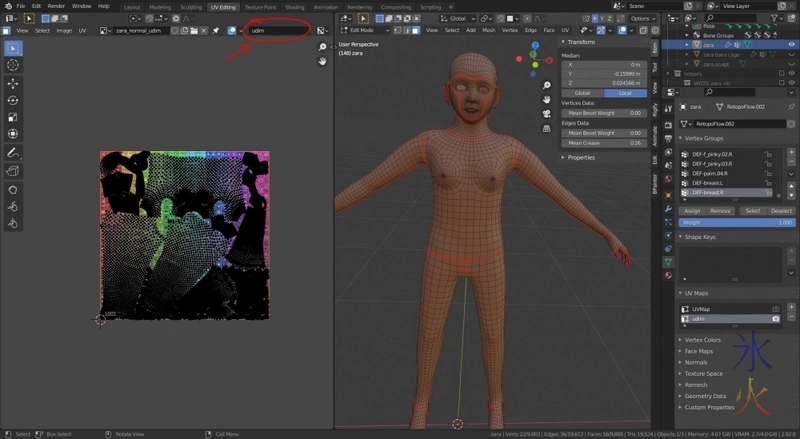
If your screen is smaller you may need to scroll that panel to find the uv selector as it’s at the very right end.
Now the N panel (I don’t know what it’s actually called but pressing N pops it in and out) should look like
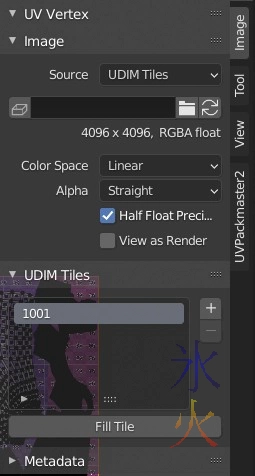
Following my tile plan, I need another three 4k tiles and two 2k tiles. Add more tiles by hitting the + button which gives you this panel:
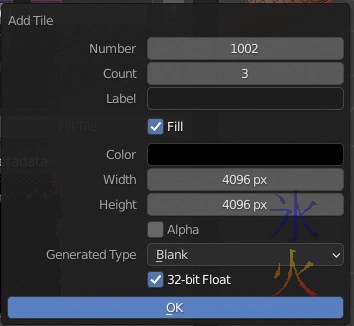
“Count” tells it how many tiles you want, “fill” tells it to fill the new tiles with the colour (black in the case of above screenie if you leave it on blank, I normally use colour grid when laying out uvs so I can see what I’m doing, I don’t actually know why I used it here as I’d normally use blank with 0 alpha at this stage). Process can then be repeated for other tiles of the same dimensions (I made another two with 2048x2048).
Then you end up with a long row of tiles optionally with uv islands in the first one if you’ve previously done some unwrapping.

Now comes grouping fun. I did get UVPackmaster2 (which wasn’t on BlenderMarket when I got it but I might get the pro version from there for the udim support if I can scrape together more change, however it’s not mission critical and you can just use Blender’s mostly good enough packing).
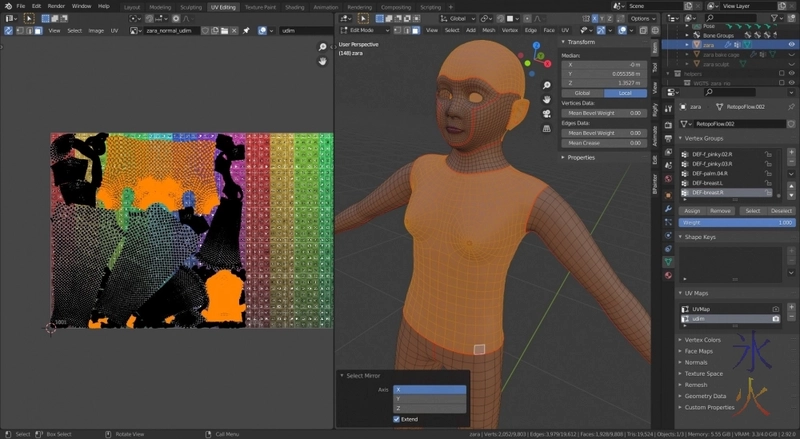
Using a combination of L to select linked (there is a box that pops up that will let you helpfully stop at seams) and shift+ctrl+M (mirror selection, you may have to click the “extend” checkbox so it selects the other side in addition to what you just selected otherwise it will select the other side and deselect the side you just selected) should get you your group for the next tile along:
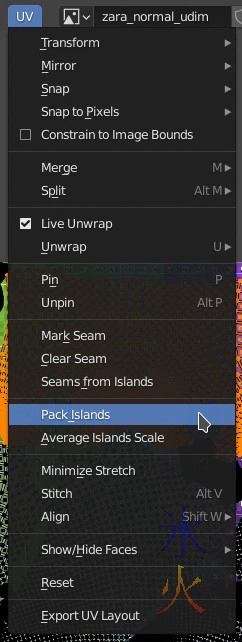
If you’re using straight Blender you want to Pack Islands from the UV menu:
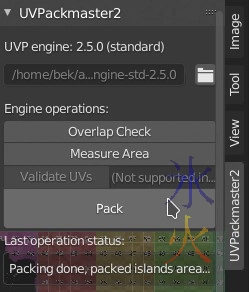
I’m using UVPackmaster2 and that and some of the other UV addons I’ve played with end up in their own little thing in the N panel:
Whatever you use, you should end up with a mess similar to
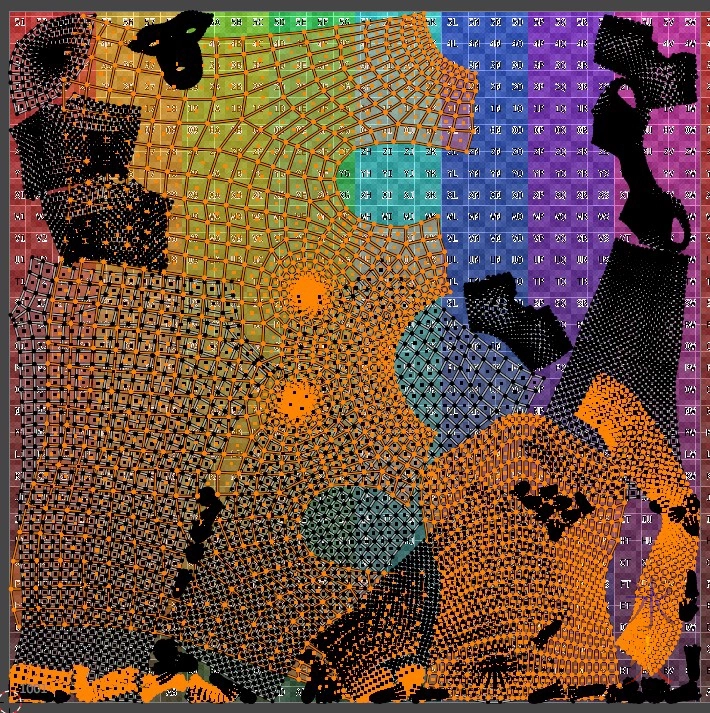
which can then be G-> X’d onto their own tile.
Pro-tip: always GX in “faces” mode otherwise bits get left behind.
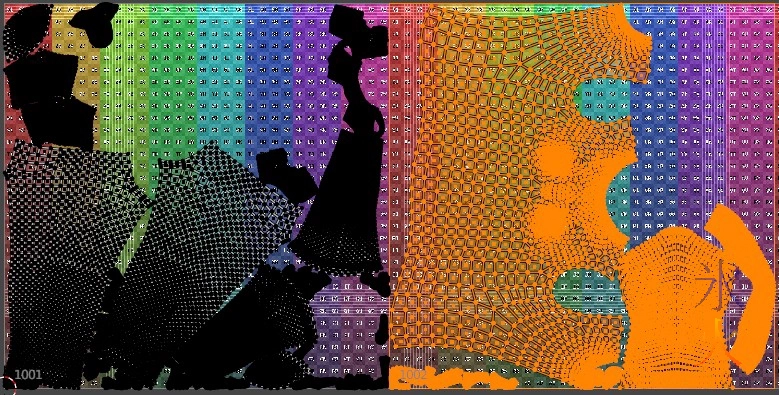
And then you should end up with something like

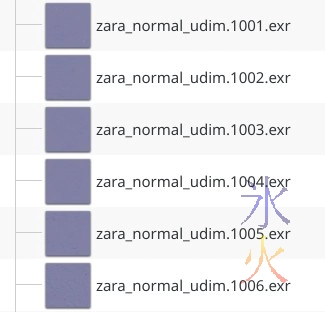
Save this by hitting alt+S while in the half where the uv map is and saving it in an appropriate location. The file will want to name itself something along the lines of [whatever_you_called_the_image].1001.[whatever extension you pick]. Rename the image if you really want to but leave the number and the preceding dot as Blender needs that. You should end up with a series of images corresponding to your tile numbers wherever you saved it.
Next head over to the shading tab, make sure you’re on the right material, make a new image texture node (or use an existing one), select your udim tile image and also select the correct image in the small image preview thing off to the side (I don’t think this is strictly necessary but it does help see what’s going on).
Select the high poly mesh, then ctrl+click the low poly mesh.
If the add-on I linked earlier is being used, there should be an extra bake button.
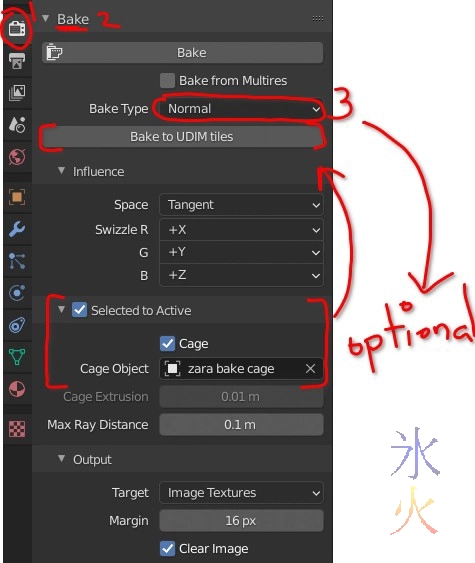
However you only get a progress indicator if you’ve run Blender from console, so you’ll have to just watch carefully and wait as you can still do stuff while the bake is going which can get a bit hairy. The button will stay blue (or whatever the pressed button colour is in the theme you’re using) while the bake is progressing and the cursor may change into a bunch of seemingly random numbers (there is probably some rhyme or reason to it, just buggered if I know what).
If you don’t have the addon I think you can bake them manually by shuffling the set across to the left and naming the output files with that naming convention (as I think Blender only bakes the first tile otherwise), and then adding the first image into the box that’s empty when you create a new image which should load all the tiles with the same naming structure. I haven’t actually tried this, I’m kind of summarising from memory of stuff I’ve read around the internet, so you’d definitely be better off searching for proper directions for manual baking if that’s what you need.
Painting is easier (to some value of easier) and can be done in whatever your normal fashion is (export uv layout for your favourite paint program or using the dubious texture paint tab or with BPainter).
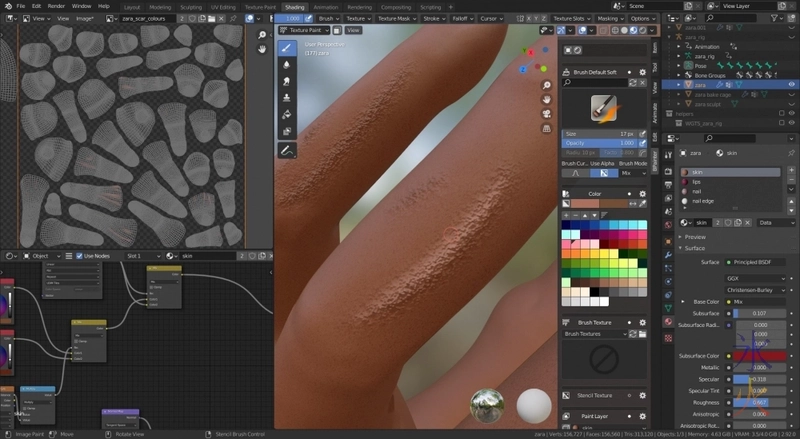
Speaking of BPainter, here’s a bonus actual progress shot applying colours to the scar normals. This is zoomed in way closer than a camera will probably ever get because that’s how I roll x_x On the bright side, the udim tiles are working out really well for me as there is plenty of detail available, that’s all the finger and toe islands together on a 2048x2048px tile.
I’m semi-contemplating doing videos again but am not sure with the amount of time editing takes (time I could be spent working on actual project x_x). I’ll see how I feel down the line.
This work by ryivhnn is licensed under a Creative Commons Attribution-NonCommercial-NoDerivatives 4.0 International License

