October ProgBlog #3: borked (and partly noteorial)
posted on: Saturday, 19 October 2019 @ 7:45pm inI couldn’t just fix the polyflow around the shoulders like I was intending. I ended up redoing the entire torso and the hips, butt and connecting part of the thighs.
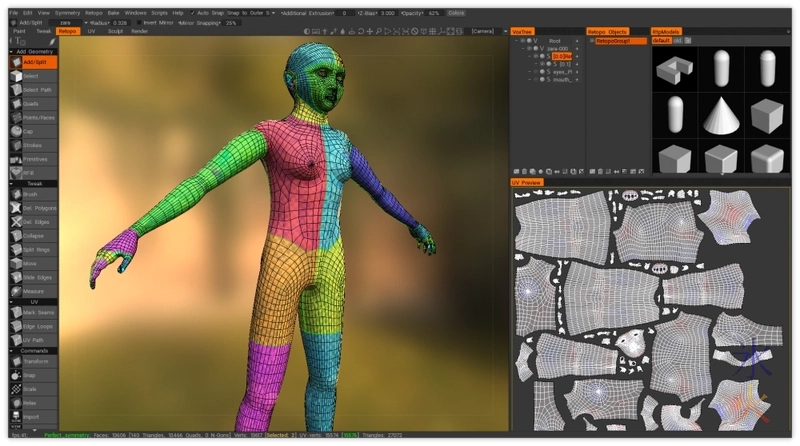
I don’t know how well it will animate in general but it will be a lot better than how it was. This meant the uv maps had to get redone as well. Then I spent two days trying to figure out how to fix the mess before remembering that 3dC is supposed to be able to deal with stuff like this and looking up how to do that instead.
Then there was the usual issues of I couldn’t figure out how to make stuff that was working for everyone else on the planet work for me. I did get partway there eventually.
First up, I managed to forget that when baking the bake thing tries to grab stuff from the sculpt model as well, and so I was getting these enormous spheres that were appearing for whatever reason and ruining the map (I still don’t know why the balls are appearing but it’s something I’ll have to deal with soon as I need to bake the sculpt details, for now I’m concentrating on getting the tattoo over). So the sculpt model had to be hidden.
Then using the texture baking tool from the textures menu in the Paint room:
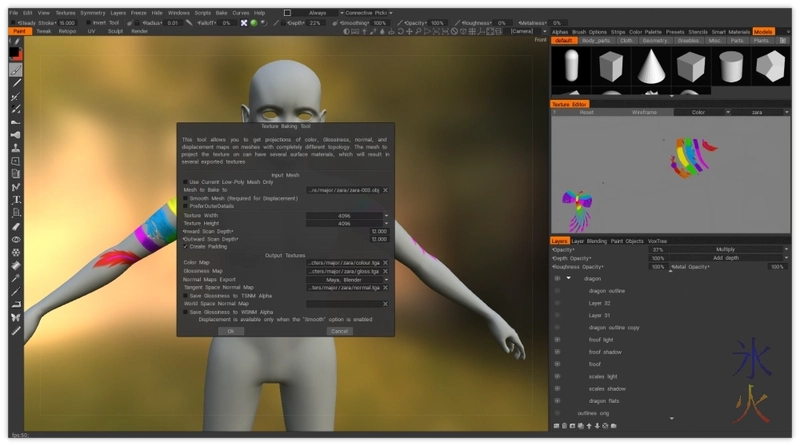
Make a new file, from the geometry menu in the Sculpt room set the units to metres and edit scene scale to 100 (it’s supposed to match the scene scale in Blender but I don’t always have luck with it, perhaps I’ll work out the kinks as I go). In the Retopo room, I import the mesh I baked the textures to with the texture baking tool (my updated one with different geometry and uv maps), then from the bake menu update paint mesh with retopo mesh (seeing as there’s nothing actually in the new file I suppose I could use any of the baking things).
Shifting over to the Paint room, I can then import the baked maps.
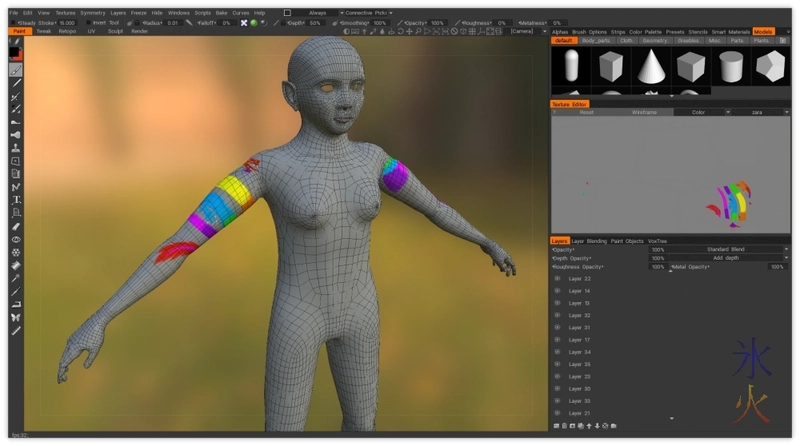
Although the gloss map turned out to be a bit of a problem XD
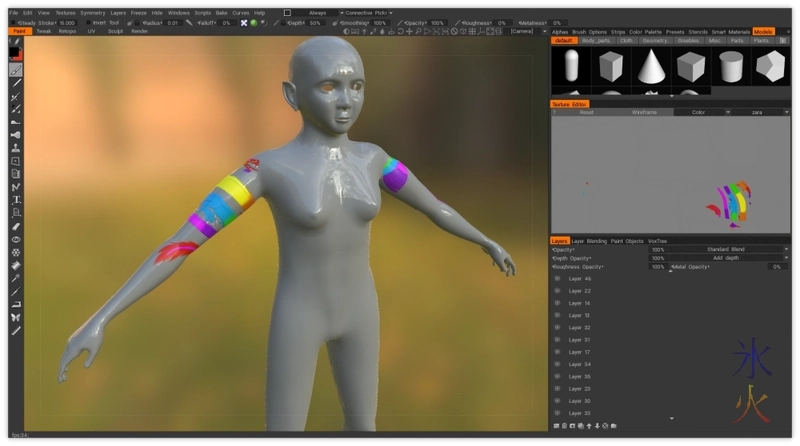
It exported as white on a black background but seeing as the gloss view in 3dC is black on white I’m guessing that’s where the problem was. So it was off to Krita for an inversion (saved with -inverted appended as I have a feeling I might need the other one for Blender) and also converting it to grayscale to see if it would stop asking me about converting to monochrome when imported.
It did not.
The gloss wasn’t glossy enough, most of the shine was from metalness.
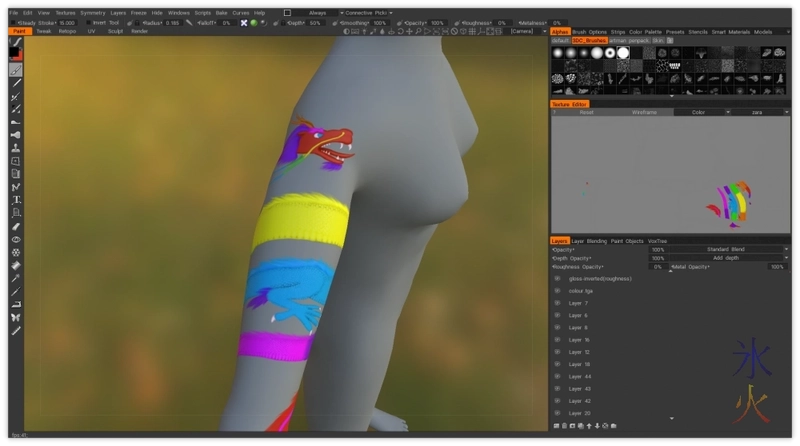
So in my infinite wisdom I decided I should probably use the gloss map as a metalness map too (because there didn’t appear to be one specifically for metalness).
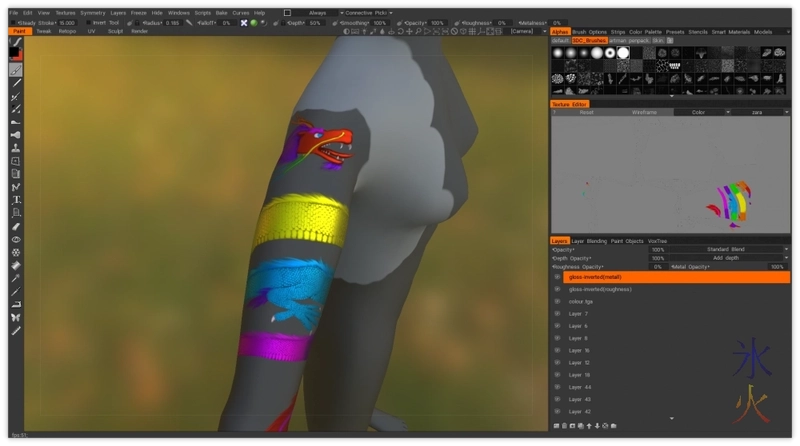
Oops? Well at least it’s shiny again (probably moreso than it was before). I’m rebuilding my Cycles shaders (all one of them) for Eevee so will see whether this is as overwhelming in Blender as it was in 2.79 when I get around to it (soon). I’m erasing the bits that don’t need to be so metal. Figured there would be something I need to clean up but this is a damn sight quicker than what I thought I was up for.
Once I’m done cleaning up I’ll import the sculpt mesh from one of the previous files and put her arm scars on, then bake the sculpt details (hopefully without stuff blowing up again) and then it’s back into Blender for proportion adjustments (this one was made before I realised the legs were too long, and I’ll need to check the default models to make sure I fixed that), hair, skin shader and rigging.
This work by ryivhnn is licensed under a Creative Commons Attribution-NonCommercial-NoDerivatives 4.0 International License

