Blender notes: bone drivers for shape keys
posted on: Sunday, 28 June 2015 @ 1:28pm inSet up controller bones (I like them in their own Armature) and make sure the “deform” box in the bone properties panel is unchecked.
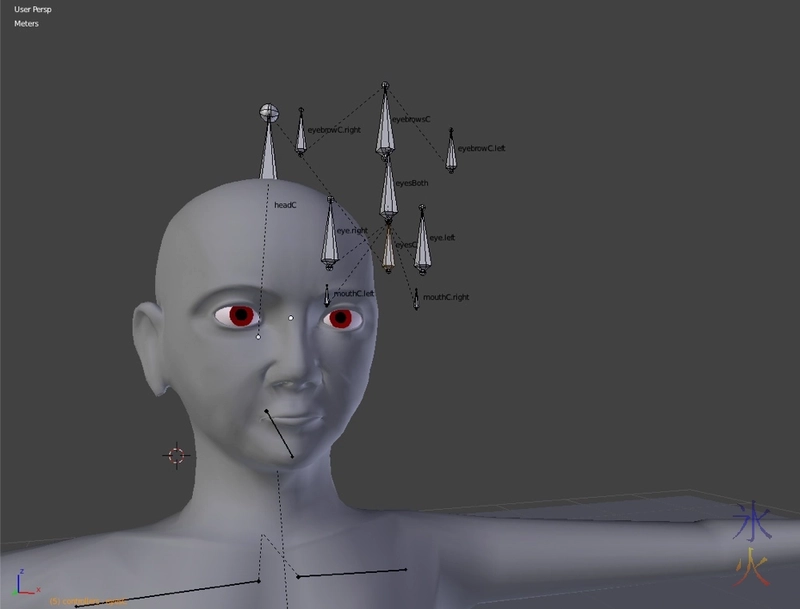
find it easier having the entire face moving around with the eye directional controller because I’m weird like that (and also they end up in odd places because of how I have the head controller).
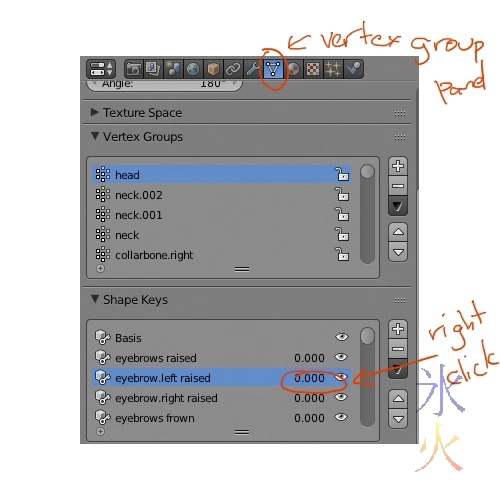
On the mesh where the shape keys are, right click on the shape key that needs to be driven by the bone. In this example the eyebrow raise.
Click “Add Driver” on the context menu that pops up.
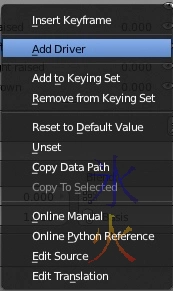
The numbers will end up with a nice purple background. Open up the Graph Editor somewhere and switch it to Drivers.

Scroll down in the N panel til you find the variable Blender helpfully adds for you, find your Armature and the bone you’re using for the driver, and pick how you want to control it (I used a rotate for the eyes opening and shutting and translate for eyebrows and mouth because that makes sense to me).
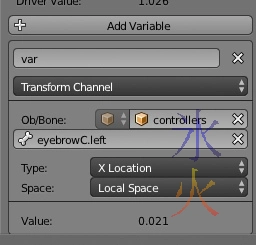
Because I seemed to have to translate a very long way to get the shape key to go all the way, I moved the bone as far as I wanted to move it to get the shape key to a value of one and then did some gumby maths in bit that says “Scripted Expression” which is located directly over the “var” thing in the immediately previous screenie.
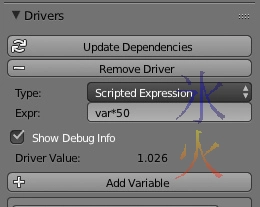
So far I’ve found that changing the “Type” to “Sum Values” or “Average values” seems to work better for the things I use rotations to drive.
Move bones, watch shape keys in action.

